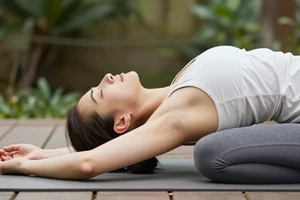
You settle onto your mat, ready to move and breathe, but a familiar twinge in your wrist gives you pause. That sharp ache during Downward Dog or the dull throb after a Vinyasa flow is a common, yet often overlooked, signal from your body. Wrist pain doesn't have to be an accepted part of your yoga practice. With mindful adjustments and strategic support, you can build a sustainable practice that respects your joints.
The wrists are intricate structures, not designed to bear the full weight of our bodies for extended periods. When we ask them to do so repeatedly without proper preparation or alignment, discomfort is often the result. The good news is that this is largely preventable. By understanding the mechanics at play and integrating a few expert-backed principles, you can transform your relationship with poses that challenge your wrists.
Why do my wrists hurt during yoga?
To address wrist pain, it helps to understand its origins. In yoga, the primary culprit is often excessive load bearing in a compromised position. When you place your hand flat on the mat, the wrist is in extension—a position where it's naturally less stable. Holding body weight here, especially with improper alignment, places significant stress on the ligaments, tendons, and the small carpal bones.
Common contributing factors include weak supporting muscles in the hands, forearms, and shoulders, which force the wrist joint itself to overcompensate. Limited mobility in the thoracic spine (upper back) or tight shoulders can also funnel undue pressure downward into the wrists. It’s rarely one single issue, but a combination of load, alignment, and muscular readiness.
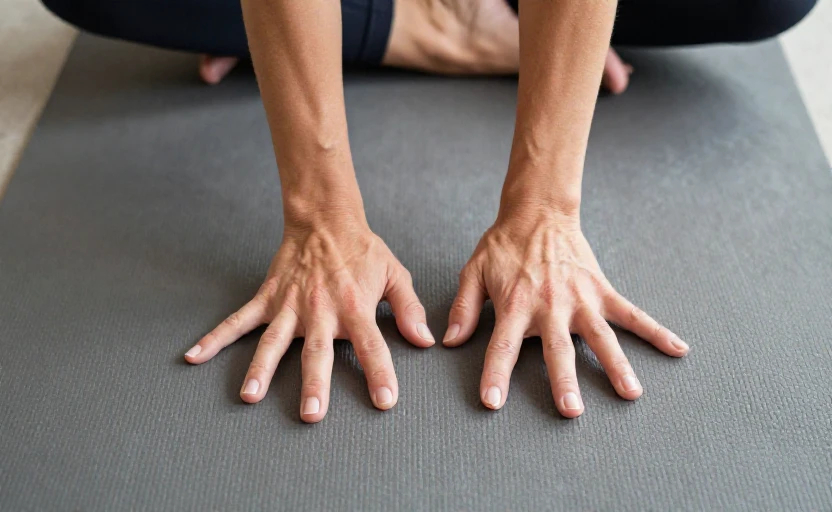
Think of your hand as a tripod: your weight should be distributed evenly between the base of your index finger, the base of your pinky finger, and the heel of your hand.
Fundamentals of wrist-friendly alignment
Before you even think about complex poses, mastering hand placement is your first and most powerful defense. Start by examining your foundation. When you place your hands on the mat, spread your fingers wide—imagine the webbing between your fingers gently stretching. Press down firmly through all ten fingertips and the entire palm, especially the knuckles at the base of your fingers. This active engagement creates a muscular “lift” in the palm, preventing you from collapsing into the heel of the hand.
Your wrists should be positioned directly under your shoulders in poses like Plank or Tabletop. If your hands are too far forward, you increase the angle of extension at the wrist. Engage your core and your shoulder blades to stabilize your torso; this distributes weight more evenly throughout your entire body instead of dumping it all into your hands and wrists.
Modifying common poses
You don't need to avoid poses that challenge your wrists—you just need to approach them intelligently.
- Downward-Facing Dog: Focus on rotating your upper arms outward slightly. This simple internal rotation helps broaden your collarbones and creates a more stable shelf for your torso, taking weight off your wrists. You can also practice with your hands on two stacked blocks or against a wall.
- Plank and Chaturanga: Keep your elbows hugging your ribs as you lower. Let your chest move forward so your shoulders stay ahead of your wrists, maintaining a more neutral wrist angle. If needed, lower your knees to the mat.
- Arm Balances: For poses like Crow, place a folded blanket under your hands to elevate your wrists to a more neutral position. This small lift can make a dramatic difference in comfort.
Building strength and mobility off the mat
A resilient yoga practice is built on more than just time on the mat. Targeted exercises for the wrists, forearms, and shoulders create a protective buffer. Simple routines done for a few minutes a day can build the foundational strength your practice needs.
Try wrist circles in both directions, gentle stretches by pressing your palm into a wall with fingers pointing up or down, and forearm stretches. Strengthening exercises like squeezing a stress ball or practicing “wrist walks” (walking your fingers up a wall while in a tabletop position) build endurance. Don’t neglect your upper back and rotator cuff muscles; exercises like scapular push-ups and band pull-aparts improve your overall upper body stability.
When to use props and how
Props are not a sign of a modified practice; they are tools for an intelligent one. A wedge-shaped yoga wedge is one of the most effective tools for wrist pain. Placed under the heel of your hand with the thick edge facing your wrist, it significantly reduces the angle of extension, creating a more neutral joint position.
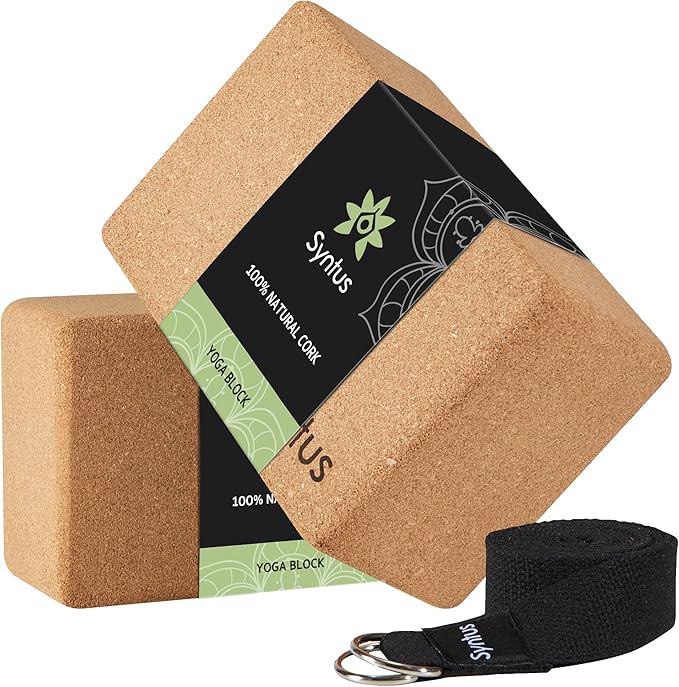
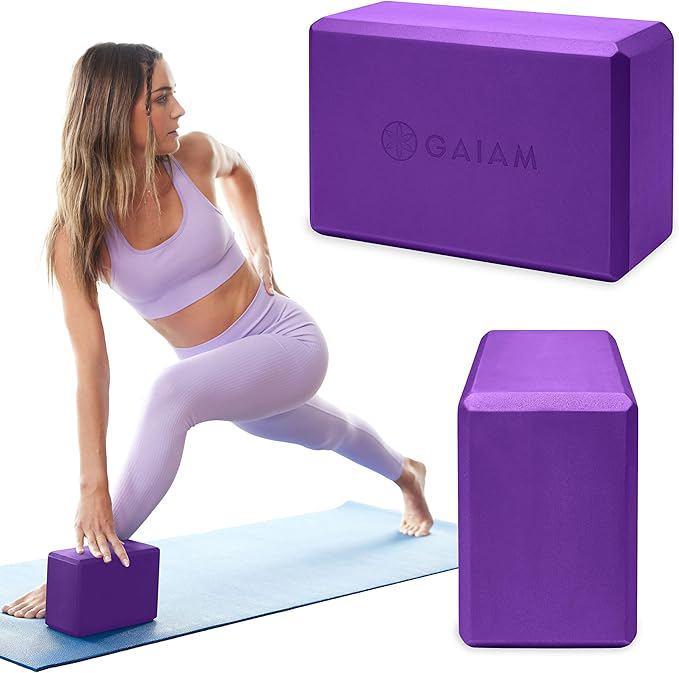
Yoga blocks are incredibly versatile. Placing your hands on blocks in poses like Downward Dog or Tabletop elevates your wrists. You can also practice certain poses on your fists (with flat knuckles) instead of open palms, which keeps the wrist in a neutral line. Always listen to your body—if a prop offers relief, use it without reservation.
Listening to your body's signals
Distinguishing between the healthy intensity of a strengthening pose and the sharp warning of potential injury is a crucial skill. A mild sensation of stretching or muscular engagement in the forearm is normal. A sharp, pinching, or shooting pain in the wrist joint is not. If you feel the latter, come out of the pose immediately.
Respect rest days and vary your practice. If your wrists are feeling sensitive, opt for a practice that emphasizes standing poses, supine stretches, or restorative yoga. Pushing through pain is never the path to a sustainable practice. If pain persists despite careful modifications, consulting a physical therapist or a healthcare provider familiar with yoga is a wise step to rule out underlying issues.
Your yoga journey is meant to be one of connection and longevity. By treating your wrists with the same mindfulness you bring to your breath, you build a practice that supports you for years to come, pose by mindful pose.