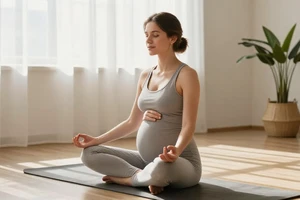
Yoga during pregnancy can be a lifeline for your changing body, offering space to breathe and move when everything feels tight. But there comes a point—usually in the second or third trimester—when a simple forward fold or a gentle twist sends a sharp reminder through your lower back. The instructions you followed before pregnancy no longer feel right, and forcing the pose only makes things worse.
Back pain during pregnancy is common, but that doesn't mean you should just grit your teeth and push through it. The more effective approach is to modify your practice so you can keep moving safely. The goal isn't to achieve a perfect shape; it's to relieve pressure, support your changing center of gravity, and let your body feel good. Here is a practical, pose-by-pose guide to modifying prenatal yoga when your back is calling for a break.
Why standard yoga poses can aggravate pregnancy back pain
Before we get into the modifications, it helps to understand why some poses suddenly become uncomfortable. As your belly grows, your center of gravity shifts forward, which increases the curve in your lower back (lumbar lordosis). Your abdominal muscles separate and lengthen, which reduces their ability to stabilize your spine. Meanwhile, the hormone relaxin loosens your ligaments, making your sacroiliac (SI) joints and pelvic area less stable. A pose that worked fine at 16 weeks—like a deep lunge or a standing forward fold—might strain those already stressed structures at 30 weeks. That is a signal to adapt, not to stop.
Cat-Cow: protect the lower back with controlled movement
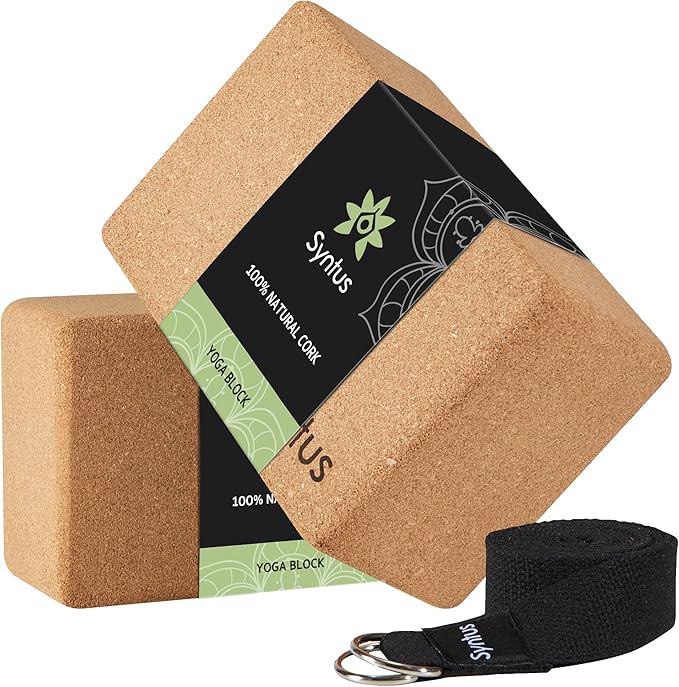
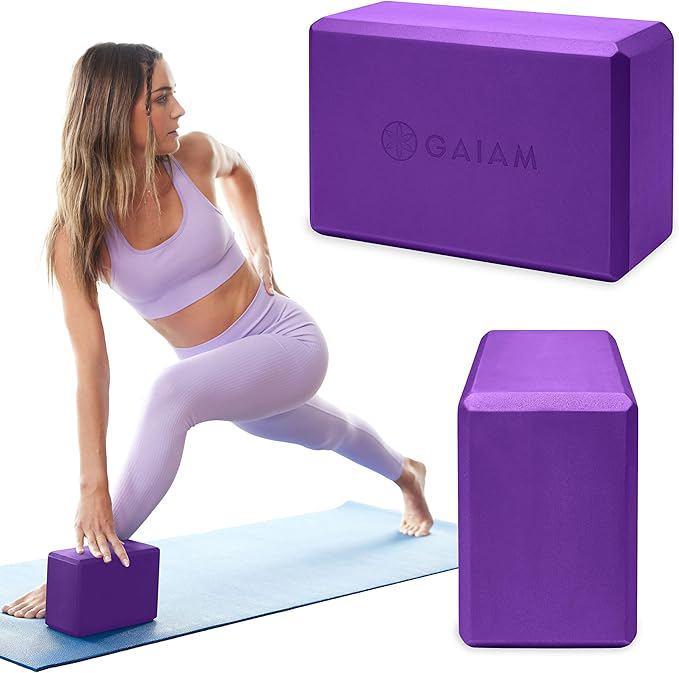
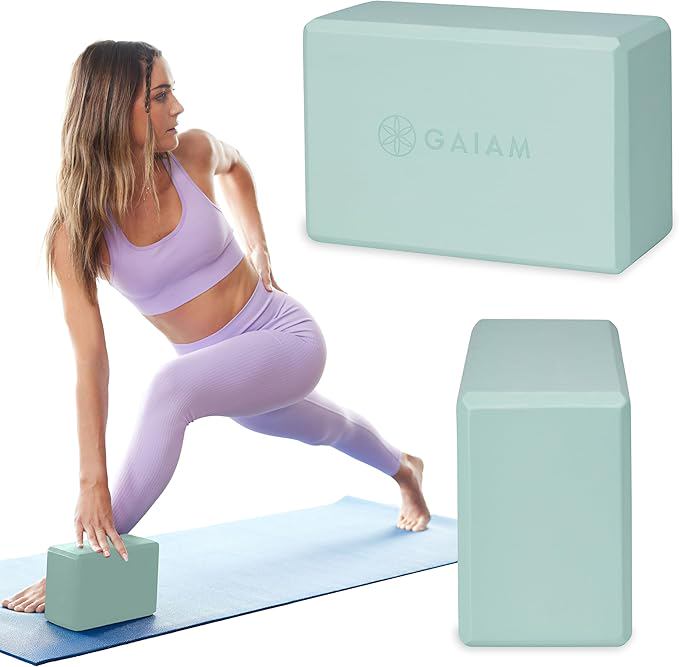
Cat-Cow on hands and knees is a core prenatal pose, but if your back is already aching, the movement can feel jarring. The key is to reduce the range of motion, especially in the Cow pose (dropping the belly). Instead of letting your belly sink all the way down, keep your spine in a neutral, tabletop position and focus on a gentle tilt of your pelvis. Think of it as a small rock, not a deep dip. On the Cat pose (rounding the spine upward), pull your navel gently toward your spine without collapsing your shoulders. Move slowly, coordinating each motion with your breath. If your wrists hurt, make fists or use yoga blocks under your hands.
A small shift: Keep the movement only in your pelvis and lower ribs. If your low back feels vulnerable, you are moving too far.
Forward folds: the wide-leg seated variation
Standing forward fold (Uttanasana) often feels impossible in late pregnancy because the belly gets in the way and the hamstrings are tight. Even seated forward fold can pull on the lower back. The modification is simple: sit on the floor with your legs spread wide apart in a comfortable V shape (Upavistha Konasana). Place a folded blanket under your sitting bones so your pelvis tilts forward slightly. Instead of reaching for your feet, place your hands on the floor in front of you or on blocks. Lengthen your spine as you exhale, and fold only as far as your back allows—maybe just a few inches. Keep your knees slightly bent if the hamstrings are pulling. This reduces load on the lumbar spine while still offering a gentle stretch through the inner legs and back.
Twists: always take them open, not closed
Twisting poses are notorious for triggering back pain during pregnancy. The rule is simple: always twist from the upper back and shoulders, and never compress the belly. That means no closed twists where you press your belly against your thigh. Instead, use an open twist. Sit sideways on a chair, with your right side facing the back of the chair. Hold the chair back with both hands and gently turn your upper torso toward the chair, keeping your hips square. Or, in a seated position on the floor, place your left hand behind you for support and your right hand on your right knee, and look over your right shoulder. Keep your spine long and your pelvis heavy. The twist should come from your rib cage and neck, not your lower spine. If you feel any pinching, stop immediately.
Warrior II and lunges: narrow stance, shorter reach
Warrior II can be great for building leg strength, but a wide stance can destabilize the SI joint and worsen back pain. Take a shorter stance—about half the distance you normally would. Keep your front knee stacked directly over your ankle and avoid letting it cave inward. Instead of reaching your arms out to the sides in a strong T, bring your hands to your hips or rest them on your belly. This keeps your shoulders relaxed and prevents you from arching your back. For lunges of all kinds, avoid dropping your back knee too low or lunging so deep that your front knee goes past your toes. Keep a micro-bend in both legs and engage your glutes lightly to stabilize the pelvis.
Savasana: the most important modification
Savasana (final relaxation) usually means lying flat on your back, but after 20 weeks, lying supine can compress the vena cava, reduce blood flow, and aggravate back pain. The best modification is side-lying. Lie on your left side with both knees bent and a pillow between your knees. Place another pillow under your head so your neck is aligned with your spine. You can also drape your top arm over a bolster or pillow in front of you. If your lower back feels achy, tuck a small rolled towel or blanket under the curve of your waist. Stay here for several minutes, breathing deeply. This position also helps with hip pain and allows your spine to decompress.
Other general modifications worth knowing
- Use blocks and blankets at every opportunity. Sitting on a blanket elevates your hips and reduces lower back strain in seated poses. Blocks under your hands in triangle or half-moon bring the floor closer to you.
- Try a wall. Many standing poses can be done with your back against a wall for support. Wall-supported Warrior II or even a gentle wall squat can take the load off your spine.
- Breathe before you move. If a particular pose triggers a wince, take a full exhale before entering it. That signals your nervous system to relax and reduces muscle guarding.
- Listen to your back. A dull ache in the muscles is one thing; sharp, shooting pain, especially near the tailbone or down one leg, might be sciatica or SI joint dysfunction. In those cases, skip the pose entirely and talk to your healthcare provider.
When to step back entirely
Modifications work well for general discomfort, but some situations require skipping yoga altogether until you talk to your doctor or a prenatal physical therapist. If you feel sharp pain that does not go away after adjusting the pose, if you feel numbness or tingling in your legs or groin, or if you experience any contractions, bleeding, or fluid leakage, stop your practice and seek medical advice. Prenatal yoga should never be painful. The point is to move in ways that support your changing body, not to test its limits.