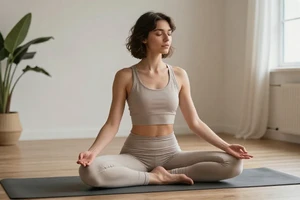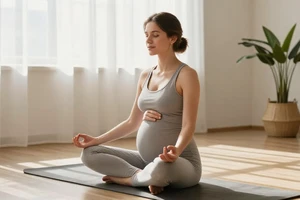
Forward folds are a staple in yoga, offering a sense of release and calm. Yet, for many beginners, they can feel more frustrating than freeing. That tightness in the hamstrings or rounding in the lower back isn’t a sign you’re bad at yoga—it’s your body communicating. As a physiotherapist, I see these postures not as tests of flexibility, but as opportunities to build intelligent, sustainable movement. The goal isn’t to touch your toes at any cost; it’s to lengthen your spine, respect your current range, and protect the vulnerable joints along the way.
Let’s move away from the image of a perfectly folded human and instead focus on the sensations of safety and support. A safe forward fold is one you can breathe deeply in, feel stable within, and rise from without wincing. It’s about the journey of the spine, not the destination of the hands.
What is a forward fold actually meant to do?
Before we move, it helps to understand the intent. A forward fold, or uttanasana in Sanskrit, is primarily a movement of spinal flexion. Its benefits are neurological as much as physical: it can calm the nervous system, encourage blood flow, and stretch the entire posterior chain—the muscles running from your calves up to the back of your neck.
However, the common misconception is that it’s a “hamstring stretch.” While the hamstrings are involved, forcing the stretch there often comes at the expense of the spine’s natural, segmental curling motion. Think of your spine like a string of pearls, with each vertebra having a job to do. In a safe fold, you initiate the movement by tipping your pelvis forward (anterior tilt), then allow the spine to curl gently, one “pearl” at a time, from the neck down.
The hallmark of a safe forward fold isn’t how far you go, but how well you maintain the natural curves of your spine for as long as possible.
Listening to your body’s signals
Your body sends clear messages during a forward fold. Learning to distinguish between a productive sensation and a warning sign is your most important tool.
A productive sensation often feels like a gentle, even pull along the back of your legs or a broadening across your lower back. It’s a sensation that stays constant or even eases as you breathe. You feel in control.
A warning sign is a sharp, pinching, or shooting pain, particularly in the lower back or behind the knees. A feeling of instability, numbness, or tingling is also a clear “stop” signal. Dull, aching tension in the lower back that increases as you hold the pose usually means you’re rounding excessively from the lumbar spine.
Common vulnerable areas
- The Lumbar Spine (Lower Back): This is the most common site of strain. When hamstrings are tight, the body often compensates by excessively rounding the lower back, putting pressure on the discs and ligaments.
- The Hamstring Attachments: The tendons where your hamstrings attach to your sitting bones and behind your knees are vulnerable to overstretching.
- The Sacroiliac (SI) Joints: Asymmetrical folding or twisting can irritate these stable joints at the base of the spine.
A physiotherapist’s blueprint for a safe forward fold
Forget touching your toes. Let’s build the fold from the ground up, prioritizing alignment over depth.
- Start in Tadasana (Mountain Pose): Stand with your feet hip-width apart. Ground down through all four corners of your feet. Engage your thigh muscles gently; this stabilizes your knees.
- Initiate with the Breath: Inhale, lengthen your spine. Imagine the crown of your head reaching toward the ceiling.
- Tip from the Hips: As you exhale, imagine your hip points (the front of your pelvis) are headlights. Shine them toward the wall behind you as you hinge forward. Keep your spine long. The goal here is to create a crease at your hip joints, not your waist.
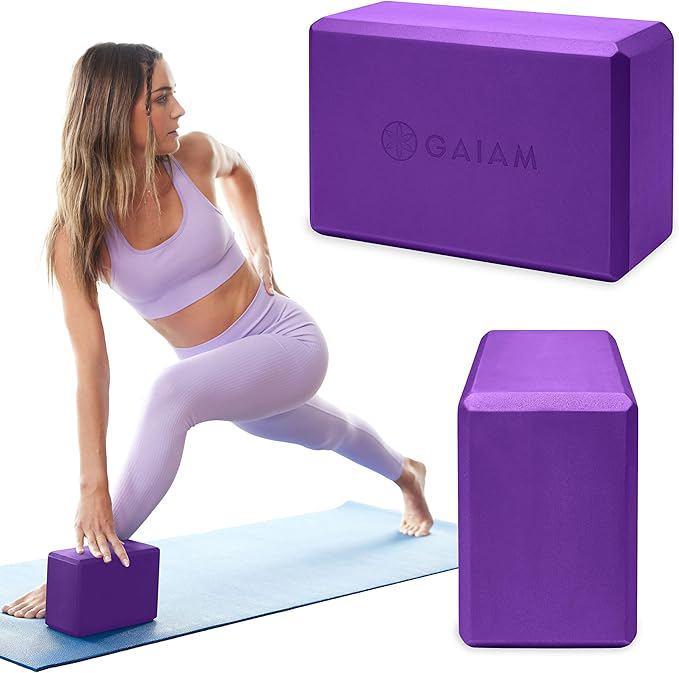
- Bend Your Knees—Generously: This is the single most important safety cue for beginners. A deep bend in the knees immediately takes strain off the hamstrings and lower back. It allows your spine to lengthen and your pelvis to tilt. Your spine’s length is more important than straight legs.
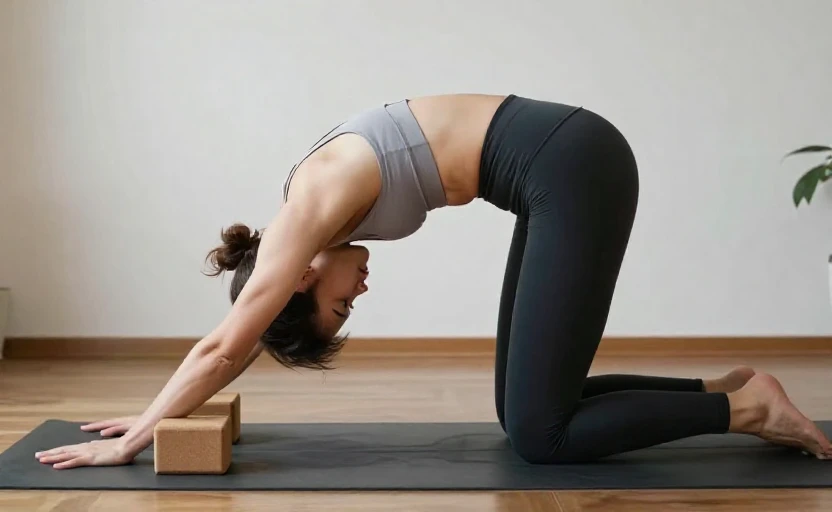
- Let Your Spine Drape: Once you’ve hinged as far as you can with a neutral spine, allow your spine to gently round. Let your head and neck be heavy. Place your hands on your shins, a block, or the floor—wherever they land without forcing.
- Breathe and Explore: Hold for a few breaths. On each inhale, subtly lengthen. On each exhale, soften a little deeper, but never into pain.
- Rise with Care: To come up, deeply bend your knees. Inhale, and lead with your chest as you slowly roll your spine up, vertebra by vertebra, keeping your head and neck relaxed until last.
Essential modifications for every beginner
Props are not a sign of weakness; they are tools for precision. Use them to create the correct sensations.
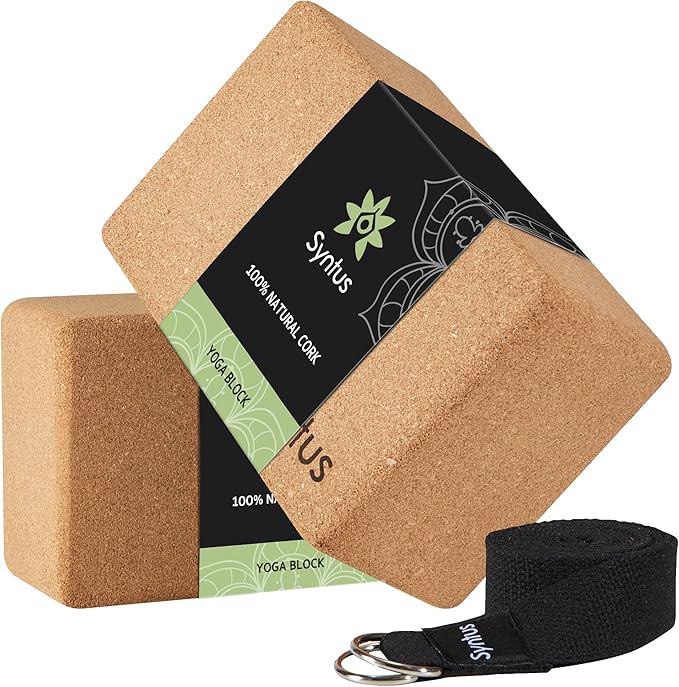
With Yoga Blocks: Place a block (or a sturdy book) on the floor in front of you. As you fold, rest your hands on the block at its highest height. This brings the floor to you, allowing you to maintain a long spine without strain.
With a Chair: Stand facing the seat of a chair. Hinge forward and place your hands firmly on the chair seat. This is excellent for those working with significant tightness or back sensitivity.
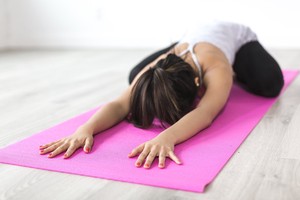
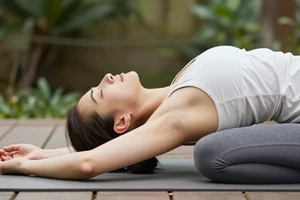
Seated Forward Fold (Paschimottanasana): Sitting on a folded blanket to tilt your pelvis forward can be a safer alternative. It removes the balance component and lets you focus solely on the hinge of the hips.
What to avoid: common mistakes that lead to injury
- Bouncing: Never bounce or pulse in an attempt to go deeper. This triggers the stretch reflex, causing muscles to contract protectively, and can micro-tear tissues.
- Locking the Knees: Hyperextending (locking back) the knees places immense stress on the knee joint and hamstring tendons.
- Rounding from the Lower Back First: This is the cardinal sin of forward folding. It bypasses the hip hinge entirely and loads the lumbar discs.
- Holding Your Breath: Breath-holding creates tension. Steady breathing keeps the nervous system calm and allows muscles to release.
Building a foundation for safer folds
Forward folding safety is built outside of the pose itself. Incorporate these elements into your overall practice.
Warm Up Your Hamstrings and Hips: Before deep folding, do gentle movements like cat-cow stretches, supine hamstring stretches with a strap (and a bent knee), and low lunges to awaken the hip flexors.
Strengthen Your Core: A strong core stabilizes your spine as you fold. Planks, bird-dog poses, and simple pelvic tilts are foundational.
Practice the Hip Hinge Separately: Stand with your back against a wall. Practice hinging forward, keeping your tailbone in contact with the wall. This teaches the pure hip movement without spinal rounding.
Remember, flexibility is a byproduct of consistent, mindful practice—not its prerequisite. Honor where you are today. The safe space you create in your forward fold is the same safe space you cultivate in your mind: one of patience, awareness, and non-force. That is where true, lasting progress begins.