Returning to movement after surgery can feel like a high-stakes balancing act. You want to rebuild strength, but you also need to protect healing tissues. For many beginners, the biggest barriers are a lack of time and a lack of equipment. The good news is that you don't need a gym bag or a dedicated hour to make meaningful progress. The even better news is that the right moves, done consistently, can accelerate your recovery without adding risk.
The three movements below are designed to be time-efficient, require zero equipment, and focus on foundational patterns that are safe for most post-surgical recovery protocols. As with any recovery program, the goal is quality over quantity. Stop if you feel sharp pain, and always defer to the specific guidelines your surgeon or physical therapist has given you.
Why Equipment-Free Moves Work for Recovery
When you're in the early stages of healing, your body is already working hard. Adding complex machines or heavy weights can interfere with that process. Bodyweight movements allow you to control the load with precision. You can start with a tiny range of motion and gradually increase it as your body allows. This is the essence of graded exposure, a key principle in rehabilitation.
Another practical benefit: consistency. If you don't need to drive to a gym or set up a barbell, you are far more likely to perform your exercises daily. Short, frequent sessions often yield better recovery outcomes than longer, infrequent workouts because they keep the neuromuscular pathways active and promote steady blood flow to the healing area.
Movement One: The Supine Heel Slide
This exercise is a staple in many post-surgery protocols, particularly after knee, hip, or lower abdominal procedures. It gently mobilizes the joint without compressive forces.
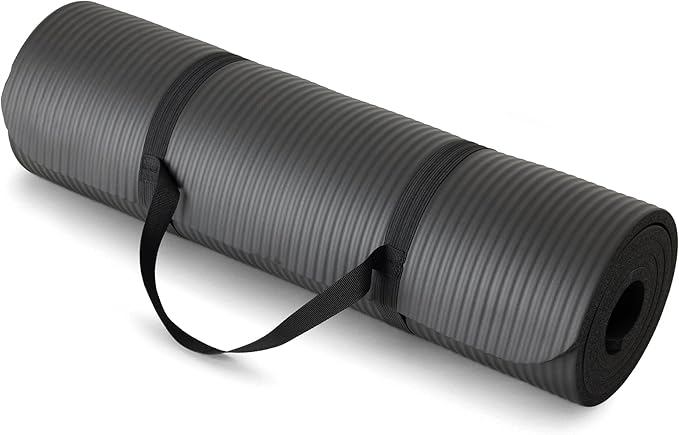
- Setup: Lie on your back on a firm surface, such as a yoga mat on the floor. Extend both legs flat. Place a towel under the heel of the leg you are working if the floor is too sticky.
- Action: Slowly bend your knee, sliding your heel toward your buttocks. Keep your foot flat on the floor. Go only as far as you feel a gentle stretch—not a pull or a pinch. Pause for one breath at the end range.
- Return: Slide the heel back down to the starting position with control. Do not let the leg drop.
A tip from rehab: Focus on the eccentric (lowering) phase. Lower the leg twice as slowly as you raised it. This helps build muscle control and reduces stiffness.
Movement Two: Seated Marching
After abdominal, back, or hip surgeries, the ability to stabilize your core while moving your legs is a crucial milestone. Seated marching builds that control safely because your spine is supported by the chair.
- Setup: Sit upright in a sturdy chair with your feet flat on the floor, hips slightly higher than your knees. Place your hands on your thighs or the sides of the chair for balance.
- Action: Without leaning back or rounding your shoulders, lift one foot an inch or two off the floor, as if you are taking a slow, deliberate step. Hold for a brief moment.
- Return: Lower the foot and repeat on the opposite side. Breathe naturally; avoid holding your breath.
If you feel your lower back arching or your chest collapsing toward your knees, reduce the height of the lift. The movement should feel like a subtle hip flexor engagement, not a full knee drive.
Movement Three: Wall-Angled Push
Upper-body strength is important even if your surgery was below the waist. You will likely need arm strength to get in and out of chairs or to use supportive devices. This variant of a push-up spares the shoulders and wrists while building pressing mechanics.
- Setup: Stand facing a wall, about arm's length away. Place your palms flat against the wall at shoulder height, slightly wider than your shoulders.
- Action: Slowly lean your entire body toward the wall, bending your elbows. Keep your body in a straight line from your head to your heels. Do not let your hips sag or your head drop forward.
- Return: Push back to the starting position, keeping your shoulder blades pulling down your back rather than shrugging up toward your ears.
You can make this easier by stepping closer to the wall, or harder by stepping farther away. For beginners, the wall version is ideal because it eliminates the risk of your nose hitting the floor, which is a real concern with traditional push-ups.
Putting It Together: A Five-Minute Sequence
Use these three moves in a simple circuit. Perform 8–10 repetitions of each exercise, then rest for 30 seconds. Repeat the circuit twice. This entire session takes less than five minutes. Do it once or twice daily, depending on your energy and your doctor's advice.
- Supine heel slides (both legs)
- Seated marching (alternating legs)
- Wall-angled pushes
Over time, you can progress by increasing the range of motion in the heel slides, adding a small weight cuff to your ankle, or increasing the number of repetitions. Always prioritize form.
When to Modify or Stop
Post-surgery recovery is not a linear process. Some days you will feel strong; other days, your body will ask you to rest. Use these signals as your guide:
- Sharp, stabbing pain: Stop immediately. This is different from the dull ache of muscle fatigue.
- Swelling that worsens after exercise: Reduce the number of repetitions or skip a day.
- Fever, redness, or heat around the incision site: Contact your healthcare provider before resuming any activity.
Consistency, patience, and honest self-assessment are the real drivers of effective recovery. These three moves give you a solid foundation to rebuild strength safely, even on your busiest days.
This content is for general educational purposes only and does not replace personalized medical advice. Always consult your surgeon or physical therapist before starting a new exercise routine after surgery.