
Few exercises build upper-body strength as efficiently as the push-up. And few exercises cause as much wrist pain. If you dread the moment your palms hit the floor or feel a sharp ache after your first few reps, you are not alone. The good news is that the culprit is usually a mechanical issue, not an anatomical one. Here are three specific, expert-backed adjustments to take the strain off your wrists without sacrificing your form.
Fix Your Hand Position and Rotation
The most common error is placing the hands with fingers pointing straight ahead or, worse, turned slightly outward. This position forces the wrist into extreme extension—bending backward nearly 90 degrees under your full body weight. Over time, that angle compresses the carpal tunnel and stresses the ligaments on the palm side of the joint.
The fix: Rotate your hands outward slightly—imagine you are trying to make a L shape with your thumbs and index fingers, as if you were screwing a light bulb into the floor. This external rotation of the arms transfers some of the load from the wrist bones to the larger muscles of the forearm and chest. At the same time, spread your fingers wide and dig your fingertips into the mat. A wider finger spread creates a broader base of support, reducing the acute angle at the wrist.
Adjust Your Grip Surface and Equipment
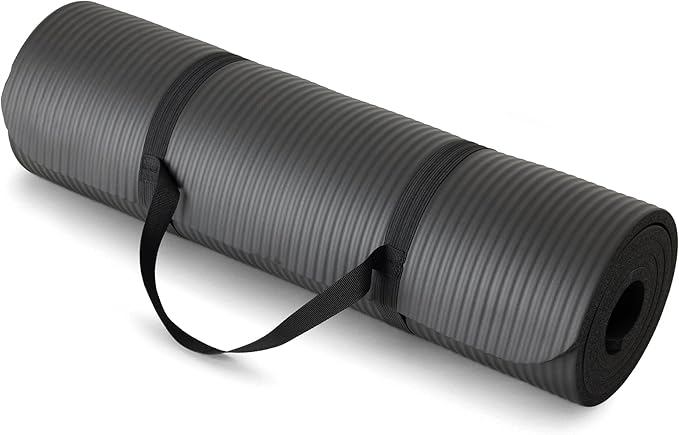
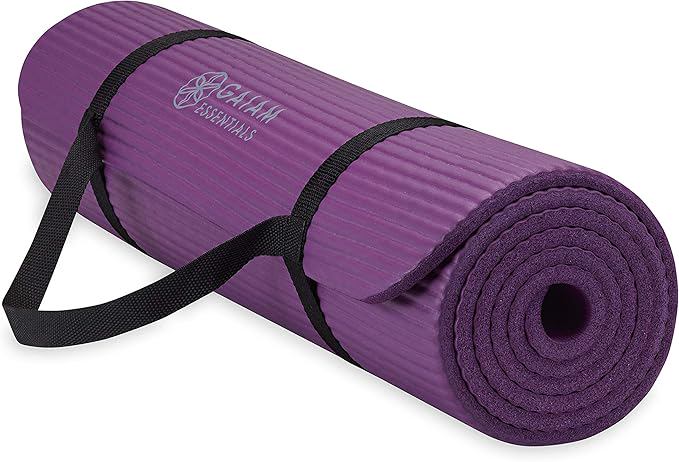
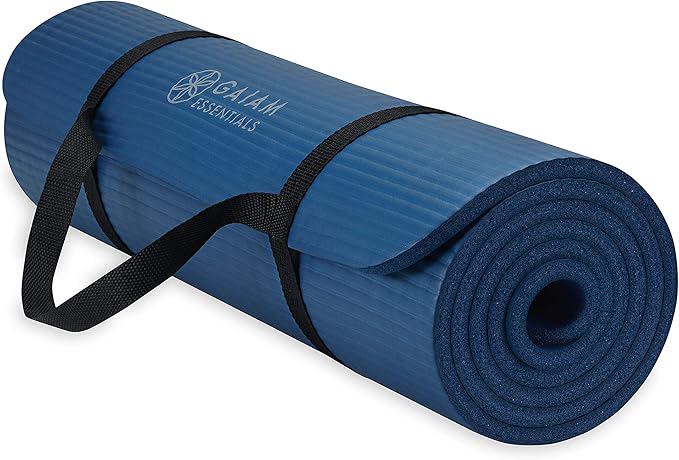
Pounding out push-ups on a hard gym floor or a thin yoga mat often makes things worse. When your palms can't sink in at all, the wrist joint absorbs every pound of force. On the other hand, a surface that is too squishy—like a thick, soft mat—destabilizes your base and forces your wrists to compensate by gripping harder, which introduces its own form of strain.
Try this: Perform push-ups on a pair of flat, low-profile push-up handles or hexagonal dumbbells. By gripping the handles, your wrists remain in a neutral position—essentially straight—which almost completely eliminates the extension angle. If you do not have handles, folding a yoga mat or towel to create a small ramp under the heel of each hand can achieve a similar effect by slightly elevating the palm. Even a 15-degree change in wrist angle dramatically reduces joint capsule pressure.
If you prefer to use the floor, make a loose fist and perform your push-ups on your knuckles. This keeps the wrist in a straight line with the forearm. This requires some adaptation in your shoulders, but it is a tried-and-true method used by martial artists for decades. Start on your knees if the knuckle position feels too unstable.
Activate Your Forearm and Grip Before You Start
Many wrist issues during push-ups actually stem from a weak or unactivated forearm. When the muscles and tendons around the wrist are cold or disengaged, the joint itself takes the brunt of the force. You essentially let your bones and ligaments act as passive shock absorbers, which they are not designed to do under load.
The warm-up trick: Before your first push-up, spend 30 seconds performing wrist circles and finger flexes. Then, get into the push-up starting position with your knees on the floor. Instead of pushing up immediately, squeeze the floor with your fingertips—curl them in slightly as if you are trying to grab the mat. Hold this isometric contraction for five to eight seconds. You should feel your forearms engage. Release, shake out your hands, and then try full push-ups. The pre-activation recruits the muscles that support the wrist, creating a muscular sling that offloads the joint.
One last note: if you already have wrist pain, skip any movement that reproduces the sharp sensation. Use the knee push-up variation while you implement these adjustments. Pain that persists beyond a week of corrected form warrants a visit to a physical therapist, especially if numbness or tingling runs into your fingers. Your wrists can handle push-ups, but they need the right mechanics—and a little respect.