Bodyweight workouts are often sold as the safest entry point to fitness. No heavy barbells, no awkward machines—just you and gravity. But that simplicity can be deceptive. As a health editor who has watched countless beginners limp out of their first few weeks, I can tell you that the most common injuries from bodyweight training don't come from doing too much weight. They come from doing too much wrong with your own body.
When you repeat a movement pattern that loads your joints unevenly, even a push-up or a squat can grind away at cartilage and strain ligaments. Below are the three most frequent mistakes I see in beginners—and how to fix them so your joints last as long as your motivation.
Mistake 1: Letting Your Knees Cave Inward During Squats and Lunges
You're doing a bodyweight squat and your knees track inward as you lower down. This is called knee valgus, and it's incredibly common. The problem isn't the knee itself—it's that your hip abductors and glutes aren't firing properly, so your thigh bone rotates internally and the kneecap gets dragged out of its groove.
Over time, this repetitive misalignment can irritate the medial collateral ligament and the patellofemoral joint. A 2020 study in the Journal of Orthopaedic & Sports Physical Therapy linked dynamic knee valgus with patellofemoral pain syndrome, especially in novice exercisers.
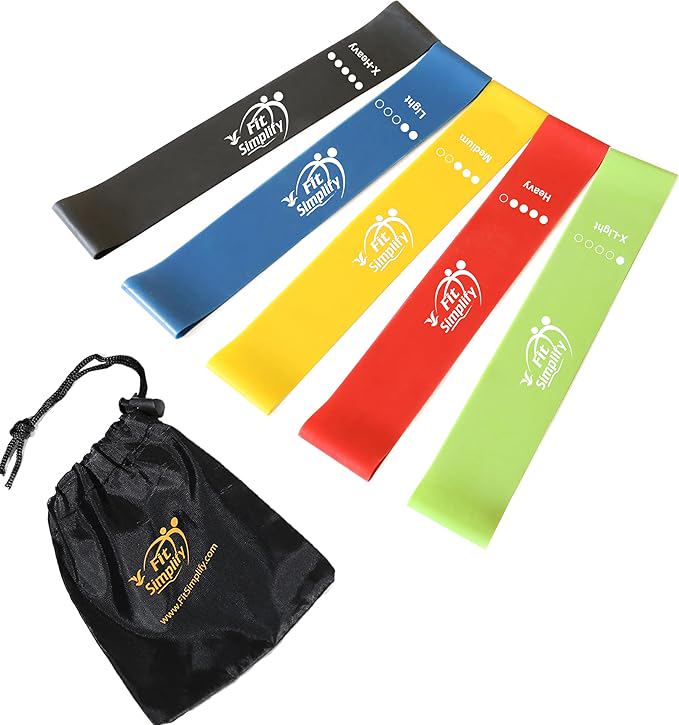
Quick fix: Place a resistance band just above your knees before squatting. Focus on pushing your knees outward against the band as you lower down. Even without a band, think about spreading the floor apart with your feet.
How to check your form
Stand in front of a mirror and perform a slow squat. If you see your knee caps pointing toward each other at the bottom, pause there. Shift your weight slightly into your heels and actively press your knees apart. Do this five times before your next set to build the motor pattern.
Mistake 2: Flaring Your Elbows on Push-Ups (The T-Rex Position)
The classic beginner push-up looks like this: elbows pointed straight out to the sides, forming a 90-degree angle with the body—what I call the T-Rex arms. This creates extreme external rotation at the shoulder joint and places high compressive force on the acromioclavicular joint and the rotator cuff tendons.
When your elbows are flared, your shoulders are in a vulnerable position, especially as fatigue sets in and your chest muscles take over sloppily. A 2019 biomechanical analysis in Sports Health found that push-ups with elbows at 45 to 60 degrees from the torso significantly reduced shoulder joint stress compared with the fully flared position.
Quick fix: Imagine you're trying to crush a tennis ball under each armpit. Tuck your elbows so they form roughly a 45-degree angle with your body. This engages your lats and stabilizes the shoulder girdle.
The wall push-up progression
If you cannot maintain that tucked position for even one floor push-up, do wall push-ups. Stand arm's length from a wall, place your hands slightly wider than shoulder-width, and lower your chest to the wall while keeping elbows at that 45-degree angle. Master 15 of these before moving to an incline on a table or bench.
Mistake 3: Hyperextending Your Lower Back During Planks and Holds
Plank looks easy: just hold yourself up, right? Wrong. The most common sight in any beginner fitness class is a plank with the lower back sagging toward the floor—excessive lumbar lordosis. This puts the small joints of your spine (the facet joints) into compression and forces your spinal discs to bear shear stress.
Your core is not just your six-pack muscles. It's a full cylinder of stabilizing musculature. When your transverse abdominis and obliques aren't engaged, your lower back picks up the slack structurally rather than muscularly. A 2017 study in the Journal of Physical Therapy Science showed that participants with poor plank form had significantly higher erector spinae activation—meaning their back muscles were working overtime to protect the spine from collapse.
Quick fix: Before you hold a plank, squeeze your glutes and tuck your tailbone under as if you're trying to close a zipper from your belly button to your pelvis. You should feel your entire midsection harden, not just your lower abdomen.
The dead-bug alternative
If you cannot hold a neutral spine in a plank for even 15 seconds, ditch the plank entirely. Lie on your back with your arms reaching toward the ceiling and your knees bent at 90 degrees. Slowly extend your right arm overhead while straightening your left leg toward the floor—without letting your lower back arch off the ground. Return and repeat on the other side.
How to Save Your Joints Without Giving Up Bodyweight Training
Bodyweight work is fantastic for building functional strength, but only when you respect joint mechanics. Here's a simple checklist to run through before every session:
- Progressive overload, not load ignoring: Increase reps or hold time by no more than 10% per week. Joints adapt slower than muscles.
- Full range of motion, not bouncing: Control the eccentric (lowering) phase for at least two seconds. No momentum.
- Pain is a signal, not a challenge: Sharp or pinching pain means stop. Dull muscle burn is okay.
Finally, if you have a history of joint issues—previous ACL tears, shoulder dislocations, or chronic low-back pain—consider working with a physical therapist or certified trainer for at least a few sessions. The three fixes above correct the most common mistakes, but individual anatomy varies. Joints are a lifetime investment; treat them like one.