
Almost every beginner hits the same wall during a bodyweight squat: the form feels off. Maybe you tip backward on the way up, or your knees cave inward, or your lower back aches the next day. The video looks nothing like the smooth, deep squat you see online.
You do not need more drills or complex cues. You likely need just two specific corrections. These moves strip the squat down to its basic mechanics, addressing the two most common breakdowns: a weak posterior chain and a lack of ankle mobility. Let us look at what is happening and exactly how to fix it.
Why Your Squat Falls Apart
A squat is a hinge and a bend working together. When beginners lose control, it is usually because one of those parts is not doing its job. The two biggest culprits are:
- A "butt wink" or a forward lean – This happens when your hamstrings and glutes are not engaged, or when your hip flexors are tight. Your pelvis tucks under at the bottom, rounding your spine.
- Knees tracking too far forward or caving in – This is almost always a mobility issue, specifically limited dorsiflexion in the ankles. If your shins cannot move forward enough, your torso compensates by leaning over, or your knees buckle for stability.
These two issues are fixable with two targeted adjustments.
Fix #1: Cement Your Heels to the Floor (The Ankle Mobility Fix)
You can test this right now. Stand with your feet hip-width apart and slowly squat down as far as you can. If your heels pop off the ground, or if you feel a sharp pinch in the front of your ankle, you have stiffness in your ankle joint. This is incredibly common for anyone who sits at a desk or wears shoes with a raised heel throughout the day.
Without enough ankle dorsiflexion, your body will not let you squat deep without falling backward. The immediate workaround—lifting your heels—takes tension off your glutes and puts it on your quads and knees.
The fix: The heel-elevated squat, then the banded distraction.
Start with a small wedge. Place a 5-pound weight plate or a thick book under each heel. This does not "cheat" the squat; it temporarily compensates for the missing range of motion so you can feel what a proper squat path feels like. Perform 3 sets of 10 bodyweight squats with the heel lift. Focus on keeping your chest up and your shins moving forward slightly. Do this for one week.
"The goal is not to rely on the heel lift. It is to give your nervous system a safe place to learn the movement pattern while you actively improve ankle flexibility."
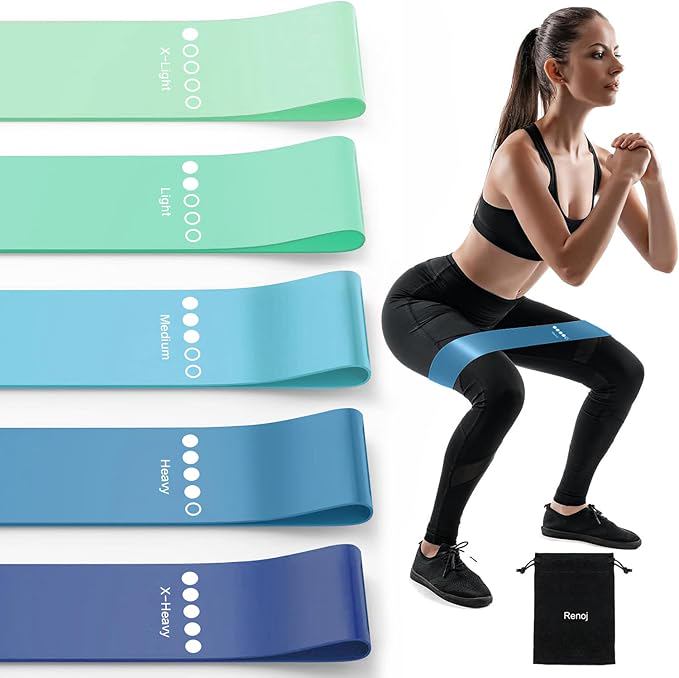
Now add the long-term fix: banded ankle mobilizations. While seated, loop a resistance band around the top of your foot near the toes and secure the other end to something heavy. Pull your foot back against the band, then drive your knee forward over your toes as far as comfortable. Hold for 2 seconds. Do 2 sets of 10 reps per ankle before each workout.
Fix #2: Find Your Chair (The Posterior Chain Fix)
The second most common form crash is the "good morning squat." Your back bends over excessively as you descend, and your hips shoot up faster than your shoulders on the way back up. This shifts the load from your glutes and hamstrings to your lower back. It happens because your brain is using your spinal erectors to pull you up, rather than your glutes.
The fix: The box squat (with a real object), followed by the wall squat.
Grab a stable chair, low stool, or a stack of cushions. The height should be just below where your thighs become parallel to the floor. Stand a few inches in front of it. Now, squat back and touch the surface lightly—do not collapse onto it. Imagine you are aiming for the back of your thighs to make contact. The instant you feel the seat, drive your heels into the floor and squeeze your glutes to stand up.
"A box teaches you to sit back instead of sitting down. It is the single best tool to teach a beginner proper hip hinge mechanics."
Use the box squat as your primary squat variation for two weeks. Once you can consistently touch the box without losing your arch, move to the wall squat. Face away from a wall, standing a foot away. Keeping your feet flat, slide your back down the wall until your thighs are parallel. Hold for 5 seconds, then press up. This reinforces upright posture and separates hip movement from spinal movement.
How to Layer These Fixes into a Workout
You do not need to complicate your routine. Here is a simple structure:
- Before every workout: 2 minutes of banded ankle distractions (Fix #1) + 10 bodyweight glute bridges to wake up your posterior chain.
- Main squat practice (3 times per week): 3-4 sets of 8-10 box squats (Fix #2). Focus on a controlled negative and a powerful heel-drive on the way up.
- Cool-down stretching: 30 seconds of deep squat hold holding onto a door frame, pushing your knees out with your elbows to open the hips.
In about 3 to 4 weeks, you can slowly reduce the box height and ditch the heel wedge. Your body will naturally maintain the new, deeper range of motion because you have strengthened the correct muscles in the correct sequence.
Quick Checklist Before Every Squat Rep
- Feet flat, weight in the middle of your foot (not the toes or the heel alone).
- Knees track in line with your second toe.
- Break at the hips first (think: stick your butt out), then bend the knees.
- Chest stays proud, ribcage down.
- You pause for a split second at the bottom before driving up.
If you are doing everything above and still feel discomfort in your lower back or knees, stop. This may not be a technique issue but an underlying structural or tightness issue. Consider working with a physical therapist for a personalized screen. Good squat mechanics take time. Two small changes—ankle mobility and proper hip hinging—are often all it takes to transform an uncomfortable squat into a stable, strong one.