
Switching to gluten-free baking often starts with good intentions and a bag of all-purpose gluten-free flour. But many home bakers run into the same frustrating problem: baked goods that turn out dry, dense, or crumbly. The culprit is often a single, easily overlooked mistake—and fixing it can transform your results.
The One Mistake: Treating Gluten-Free Flour Like Wheat Flour
The biggest error is using a gluten-free flour blend exactly the same way you would use regular wheat flour. Gluten-free flours behave differently because they lack gluten, the protein that gives dough its elasticity and structure. Without gluten, your batter or dough needs different ratios, different mixing methods, and often more hydration.
When you substitute gluten-free flour cup-for-cup without adjusting the liquid or mixing technique, you end up with a dry, sandy texture. That's because gluten-free flours—made from rice, almond, coconut, or other grains and nuts—absorb moisture differently. They act more like a sponge than wheat flour.
Why Gluten-Free Flour Needs More Liquid
Gluten-free flour blends are typically heavier and thirstier than wheat flour. They require extra moisture to hydrate properly. If your recipe calls for one cup of wheat flour and you swap in one cup of gluten-free flour without adding more liquid, your batter will be too stiff. The final product will likely be dry and dense.
A good rule of thumb is to add an extra 1 to 2 tablespoons of liquid per cup of gluten-free flour. This can be water, milk, or even an extra egg. The exact amount depends on the specific blend—some brands already include starches that help with moisture, while others are more absorbent.
Tip: Start with an extra tablespoon of liquid per cup of flour, then check the consistency. Your batter should be slightly looser than a traditional wheat-flour batter would be.
Not Weighing Your Flour
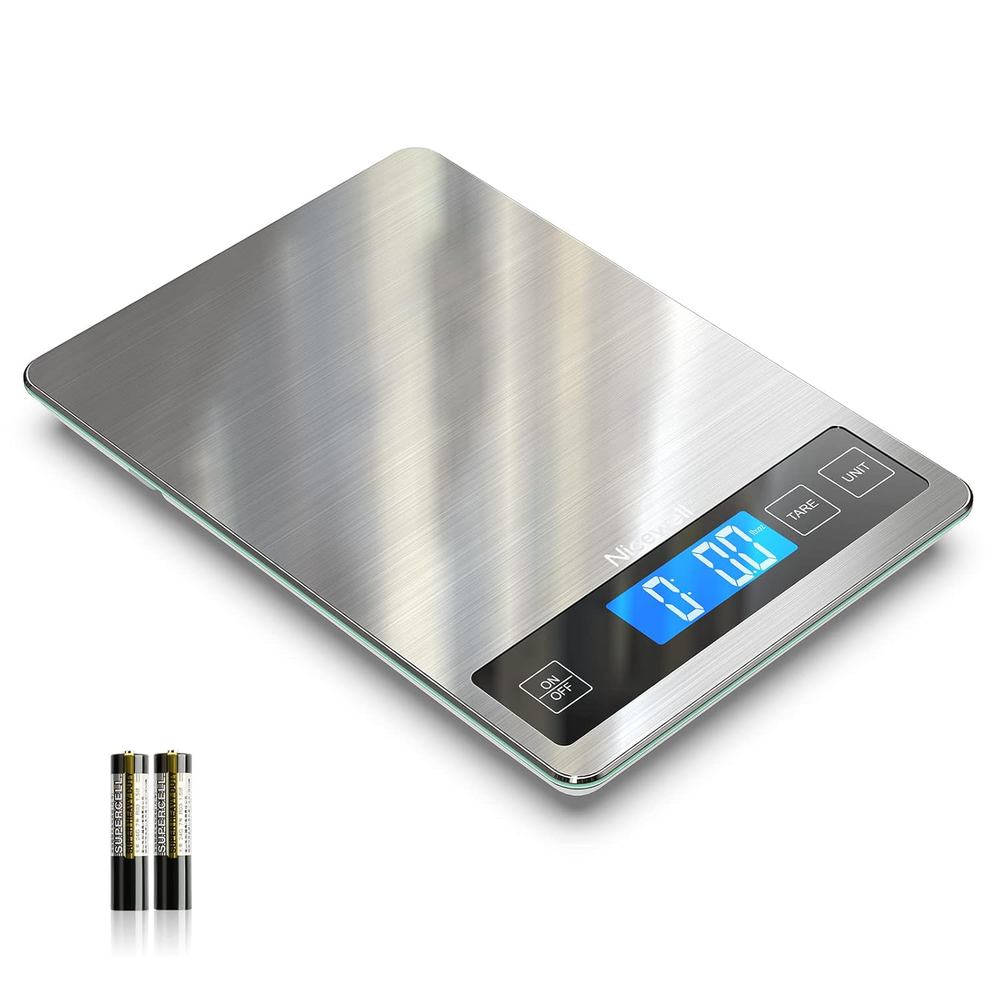
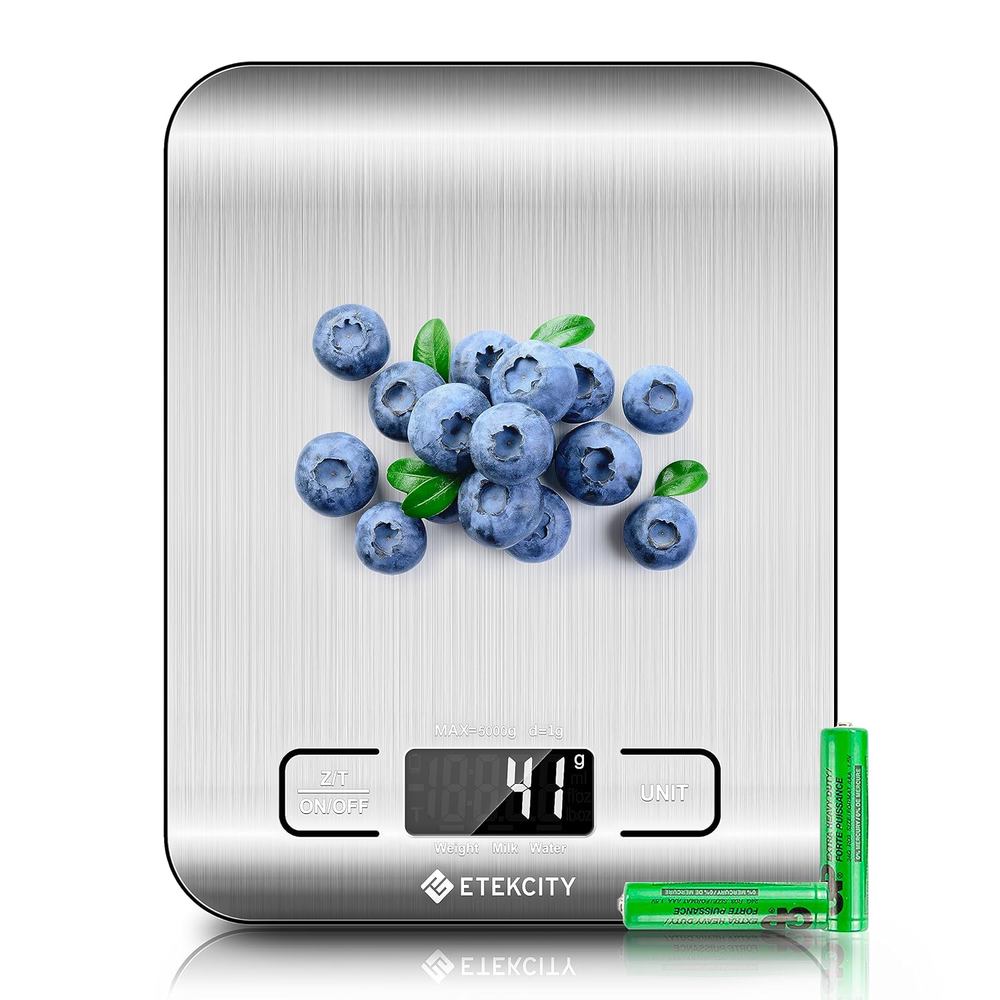
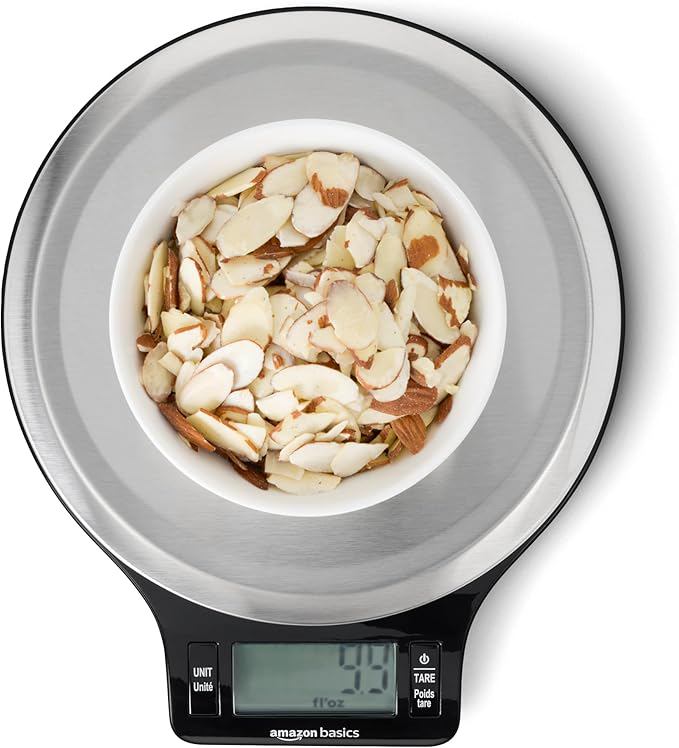
Another part of the same mistake is not weighing your flour. Gluten-free flour blends can vary widely in density depending on their ingredients. A cup of almond flour weighs less than a cup of rice flour, and a cup of all-purpose gluten-free blend can weigh anywhere from 120 to 160 grams depending on the brand. Using a measuring cup without checking the weight can lead to too much or too little flour, which directly affects the texture of your final baked goods.
If you don’t have a kitchen scale, spoon the flour lightly into your measuring cup instead of scooping. Scooping compacts the flour, adding more than the recipe intends.
Overmixing the Batter
With wheat flour, overmixing develops gluten and makes baked goods tough. With gluten-free flour, there's no gluten to develop, so overmixing isn't about toughness—but it is still a problem. Overmixing can deflate air bubbles you’ve introduced during creaming or whisking, leading to a denser final product. It can also cause the starches to break down, making the texture gummy or pasty.
Mix just until the ingredients are combined. A few small lumps are fine. Gentle folding is better than vigorous stirring.
The Fix: Simple Adjustments for Better Gluten-Free Baking
Getting great results with gluten-free flour is not complicated. Here are the most effective adjustments:
- Increase liquid: Add 1–2 tablespoons of extra liquid per cup of gluten-free flour. Water, milk, buttermilk, or even applesauce works well depending on the recipe.
- Weigh your flour: Use a kitchen scale to measure by weight rather than volume. Check the brand's recommended weight per cup.
- Add a binder: Xanthan gum or psyllium husk powder can help mimic gluten’s structure. Many blends already include xanthan gum, so check the label first.
- Let the batter rest: Allow your batter to sit for 15–30 minutes before baking. This gives the flour time to fully absorb the liquid, which improves texture.
- Don't overmix: Stir just until combined. Fold gently, and avoid using a stand mixer on high speed.
Common Gluten-Free Flour Blends and Their Textures
Different flour blends behave differently. Understanding your blend can help you make better adjustments:
- Rice flour blends: These are common and versatile, but they can be gritty if not enough liquid is added. They benefit from a longer rest time.
- Almond flour blends: These are moister and more tender. They don't need as much extra liquid, but they can brown faster.
- Coconut flour blends: Coconut flour is extremely absorbent. It typically requires more eggs or liquid than other blends. Do not substitute it 1:1 for wheat flour.
- All-purpose gluten-free blends: Popular store-bought blends like those from Bob's Red Mill or King Arthur Flour are formulated to work well in many recipes, but they still need adjustments for moisture and mixing.
Final Thoughts
The 1 mistake home bakers make with gluten-free flour blends is treating them like wheat flour. By simply adding more liquid, weighing your ingredients, and mixing gently, you can turn dry, crumbly disasters into light, tender treats. Gluten-free baking is not harder—it's just different. With these small tweaks, your cookies, cakes, and breads will come out exactly how you want them.