
Starting a strength training routine is one of the best decisions you can make for your long-term health, but your joints need just as much attention as your muscles. Without proper precautions, the very activity meant to build you up can lead to creaky knees, achy shoulders, or nagging wrist pain that derails your progress. The good news is that with a few simple adjustments, you can build significant strength while keeping your joints happy and resilient.
Whether you are new to the gym or returning after a long break, think of joint protection as your foundation. This guide walks you through the practical steps that experienced lifters use to stay injury-free, so you can focus on getting stronger without the setbacks.
Why Joints Need Special Attention as a Beginner
Your joints are the hinge points where bones meet, cushioned by cartilage and stabilized by ligaments and tendons. When you lift weights, these tissues absorb force. As a beginner, your muscles may adapt quickly to new stress—growing stronger within weeks—but your connective tissues, including tendons and ligaments, take much longer to remodel. This mismatch is a primary reason beginners get injured. Protecting your joints is not about avoiding hard work; it is about giving your body time to build the supporting structures that allow you to train consistently for years.
Master the Art of Bracing Before Every Rep
One of the most effective joint-protection habits is learning how to brace your core. Bracing creates intra-abdominal pressure that stabilizes your spine and transfers force safely through your hips and shoulders. Before every lift, take a deep breath into your belly, hold it, and tighten your entire trunk as if someone were about to punch you in the stomach. You do not need to hold your breath for the whole set—exhale on the exertion—but that initial brace sets a protective frame for your spine and shoulder joints. For overhead pressing and squatting especially, this simple habit can save your lower back and shoulders from unnecessary strain.
Choose Joint-Friendly Ranges of Motion
Full range of motion is often praised, but for beginners it is more important to find a range that feels comfortable for your individual anatomy. For example, when squatting, you do not need to drop into a deep ass-to-grass position if your hips or knees complain. A parallel squat, where your thighs are roughly level with the ground, is plenty effective for building leg strength without excessive joint stress. Similarly, during a bench press, bring the bar only to a point where your elbows feel stable—there is no need to bounce the bar off your chest. Listen to what your joints are telling you. A slight pinching or sharp pain means you have gone too far; back off the range slightly. Over time, as your connective tissues adapt, you can gradually increase depth.
Think of your comfort range as a moving target. Today it may be one notch shallower; in three months it may be deeper. Honor where you are right now.
Warm Up with Intention, Not Just Movement
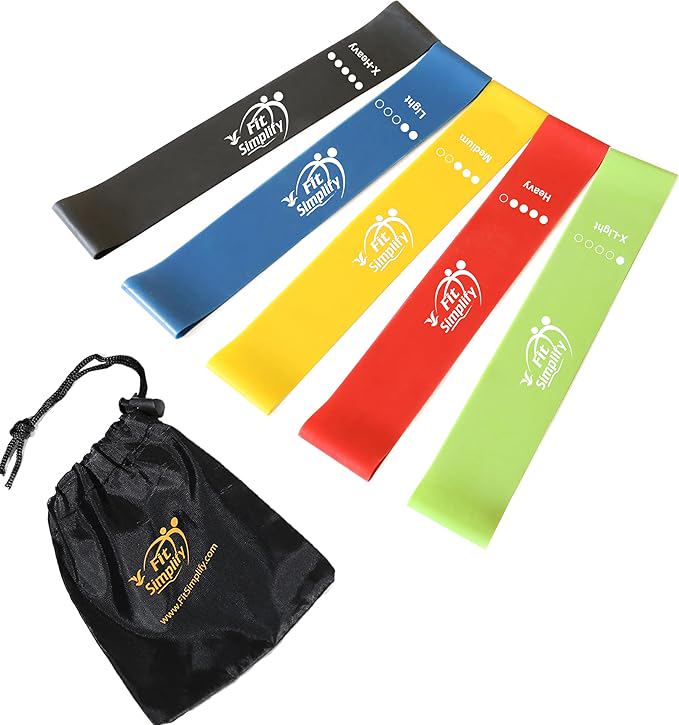
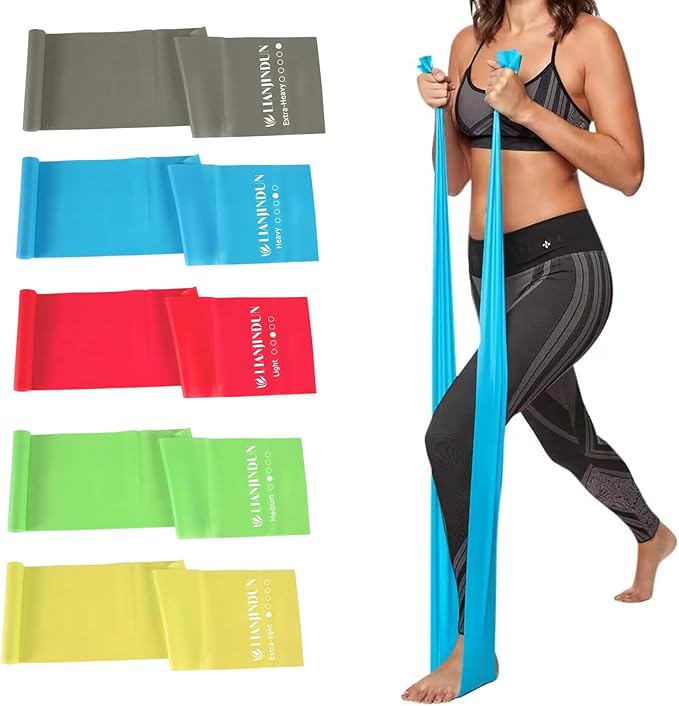
A generic five minutes on the treadmill is a poor warm-up for lifting. Instead, use a dynamic warm-up that directly prepares the joints you will be using. For a lower-body day, spend a few minutes doing bodyweight squats, leg swings, and hip circles. For upper body, do arm circles, band pull-aparts, and wrist mobility drills. The goal is to increase blood flow and synovial fluid production inside the joint capsules, which lubricates the joint and reduces friction. A proper warm-up does not need to be long—five to ten minutes is enough—but it needs to be targeted.
- Hip hinges: Bodyweight hip thrusts or glute bridges activate the posterior chain and protect your lower back.
- Shoulder health: Band dislocates (using a resistance band or broomstick) improve rotational mobility in the shoulder capsule.
- Wrists: Gentle wrist flexor and extensor stretches are especially helpful before pressing movements.
Control the Eccentric Phase
The eccentric phase is the lowering part of a lift—when you are controlling the weight down. This is where most muscle damage and joint stress occurs. As a beginner, slow down your eccentric movement to about three seconds. This does several things: it reduces momentum (which jars joints), it gives your connective tissues time to adapt to the load, and it builds better control. For example, on a dumbbell bench press, lower the weights slowly to your chest rather than letting them drop. On a squat, descend under control instead of bouncing at the bottom. You will be amazed how much less your knees and shoulders hurt when you stop rushing through the lowering phase.
Use Grips and Hand Placements Wisely
Your wrists, elbows, and shoulders are a connected chain. A poor grip can throw the whole chain out of alignment. For pressing exercises, keep your wrists neutral—not bent back at a sharp angle. Imagine you are punching the ceiling; this keeps the load directly over your forearm bones rather than straining your wrist joint. For pulling exercises like rows or pull-ups, use a grip that feels natural to your shoulder anatomy. Many beginners find a neutral grip (palms facing each other) easier on the shoulders than a wide pronated grip. Do not be afraid to use lifting straps or hooks for heavy pulls; they take tension off your grip so your forearms and elbows do not have to compensate.
Respect Your Joints with Smart Exercise Selection
Not every exercise is right for every body, especially when you are starting out. Certain movements can be hard on beginner joints. For example, upright rows often cause shoulder impingement because of the internal rotation at the top. Dips behind the back put the shoulders in a vulnerable extended position. Heavy deadlifts from the floor with poor form can stress the lower back. Instead, choose joint-friendly alternatives that still build strength effectively:
- Replace upright rows with dumbbell lateral raises or face pulls.
- Choose dumbbell floor press or push-ups over barbell bench press if your shoulders are tight.
- Use trap-bar deadlifts or rack pulls instead of conventional deadlifts until your back and hips are conditioned.
The best exercise is the one you can perform with perfect form and zero joint pain. Do not let ego push you into lifts that make your elbows or knees unhappy.
Address Common Joint Trouble Spots
Knees
Knee pain during squats or lunges is often a tracking issue. Ensure your knees follow the direction of your toes—do not let them cave inward. Strengthening your glutes can improve knee stability because your glute medius prevents the thigh from rotating inward. If knee pain persists, try a narrower stance or reduce depth temporarily.
Shoulders
Shoulder impingement is common in beginners who push heavy overhead too soon. Focus on exercises that keep your scapulae retracted and stable, like rows and face pulls. For overhead pressing, use a slight incline (even 15 degrees) to take pressure off the joint capsule. If you feel pinching, switch to dumbbells instead of a barbell, as they allow a more natural rotation of the shoulder.
Lower Back
A neutral spine is non-negotiable. Learn to hinge at your hips—not your waist—during deadlifts and rows. A mirror or a video recording of your form can reveal whether you are rounding your back. If you lack hip mobility, position your feet shoulder-width apart and turn your toes slightly out to make room. Core bracing, as mentioned earlier, is your primary defense against back strain.
Progress Slowly and Listen to Your Body
The most important principle for joint health over the long term is gradual progression. Beginners often want to add weight every session, but this can overload joints before they are ready. Follow a simple rule: do not increase the weight until you can complete all your reps with perfect form and zero joint discomfort. Even then, add only small increments—2.5 to 5 pounds for upper body, 5 to 10 pounds for lower body. Deload periodically by taking a lighter week every fourth or fifth week to let your connective tissues catch up. Joints love rest almost as much as they love movement.
Strength is built in the recovery, not just the reps. Your joints repair and strengthen while you sleep and eat well, not while you grind out one more rep in pain.
Your journey as a lifter is a marathon, not a sprint. By taking these practical steps to protect your joints today, you are investing in a future where you can keep lifting, keep progressing, and keep enjoying the countless benefits of strength training—without being sidelined by preventable injuries. Start with lighter weights, move with intention, and respect your body's signals. Your joints will thank you for decades to come.