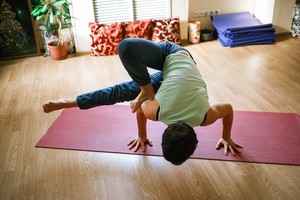
Walking into a yoga studio or browsing online for props can feel overwhelming when you realize that blocks, bolsters, and blankets come in different sizes. That slight difference in height—whether it's a four-inch block versus a six-inch one—can transform a pose from a struggle into a stable, supported stretch. The wrong height can compromise alignment, while the right height helps you find length, leverage, and breath.
Instead of buying a full set and hoping for the best, you can use two straightforward, expert-backed approaches to determine exactly what height works for your body and your practice. These methods focus on your unique proportions and the specific demands of each pose, not generic rules.
Method 1: The Sitz Bone Floor Test
This method is especially useful for seated poses and forward folds, where props are meant to lift the pelvis and create space in the hips and lower back. The goal is to bring your hips slightly higher than your knees so your spine can lengthen naturally.
Start by sitting on the floor with your legs extended in front of you (staff pose). Notice what happens in your pelvis—does it tuck under, rounding your lower back? That is a sign you need lift. Grab a single block and sit on its lowest or medium height. Your sitz bones should feel grounded, not precarious. If your knees are still higher than your hips, try a higher setting or a firm bolster. If your hips shoot up too high and you feel pinching in the groin, you need a lower prop.
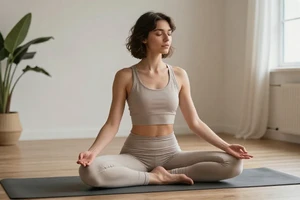
Use this test for any seated posture, including Baddha Konasana (bound angle) and Supta Baddha Konasana (reclined bound angle). The correct height allows your thighs to release and your spine to rise without rounding.
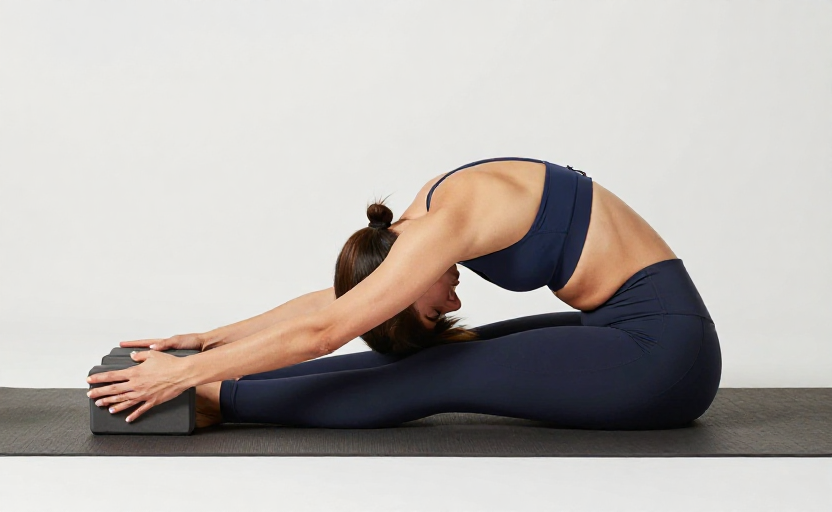
Method 2: The Arm's Reach Alignment Check
For standing poses and supported backbends, your arms are often doing the lifting. The height of your block or bolster should allow your spine to stay long without your shoulders hiking up to your ears.
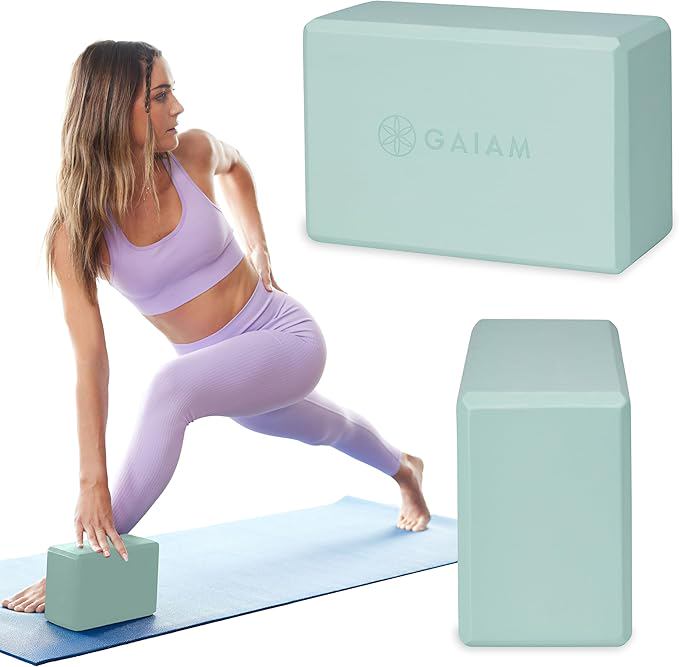
Stand in Tadasana (mountain pose) at the top of your mat. Place a block a few inches in front of your feet. Hinge forward into a flat back (halfway lift) and place your hands on the block. Adjust the height so your spine extends flat, your shoulders are stacked over your wrists, and your neck is relaxed. If your hands barely touch the block and your spine looks like a turtle shell, the prop is too low. If your arms bend awkwardly and your chest collapses, it is too high. The sweet spot is the height where your back feels long and your shoulders feel open.
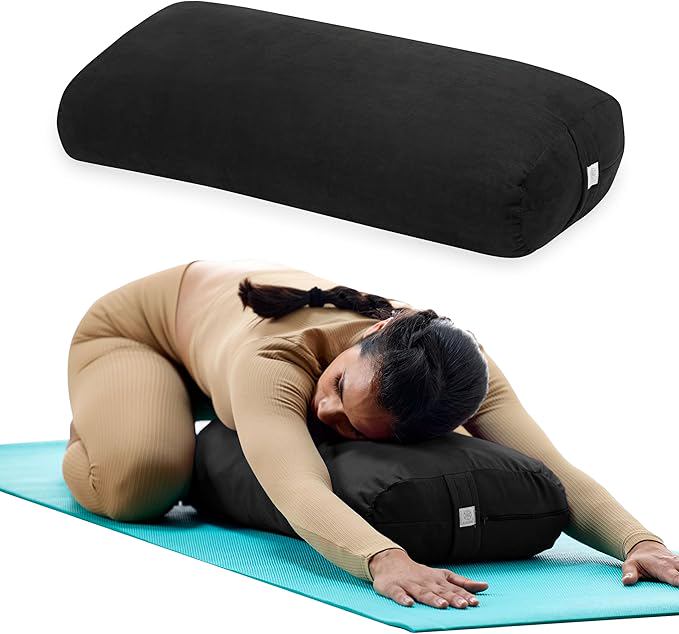
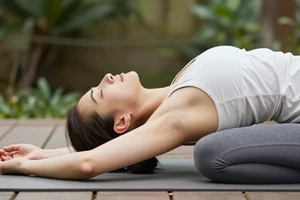
This same logic applies to supported bridge pose and restorative fish with a bolster. Your arms or upper back should rest on the prop without your neck or lower back compensating.
Some practical sizing guidelines
While the two tests above are the most reliable, here is a quick reference for common prop heights based on body type and pose goals:
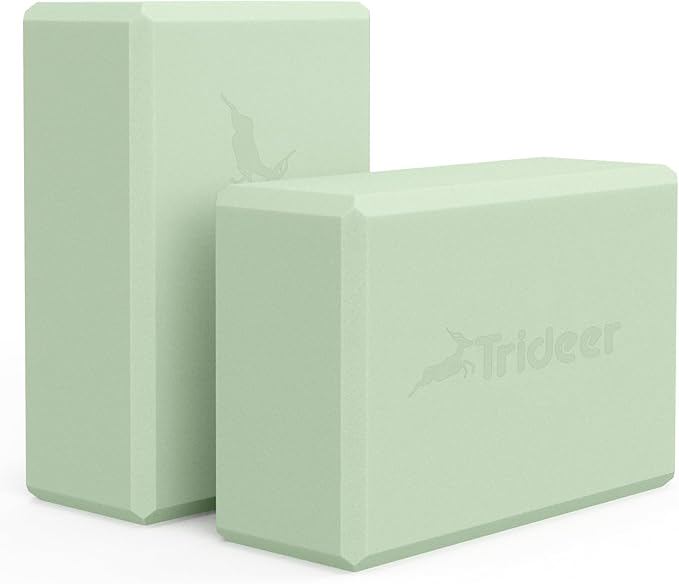
- Foam blocks (standard 9" x 6" x 4") work for most people in standing poses when used on the middle height (6 inches). Taller practitioners (above 5'8") often need the highest setting (9 inches) for standing splits or pyramid pose. Shorter practitioners (under 5'3") may prefer the lowest setting (4 inches) for seated support.
- Cork blocks are denser and often slightly shorter. If you switch from foam to cork, re-test with the arm reach check—cork provides less give, so a lower height may be necessary.
- Round bolsters (about 6 inches in diameter) work well under the knees for Savasana and under the spine for mild backbends. Rectangular bolsters (about 8 inches tall) offer more lift and suit taller individuals for restorative chest openers.
- Firm blankets folded to 2-3 inches are ideal for under knees in seated poses when a block feels too hard. Stack two blankets for 4-5 inches of lift if you have tight hamstrings.
A helpful rule of thumb: if you cannot hold the pose for three full breaths without adjusting or feeling strain, your prop height probably needs to change.
Why your body is the real reference point
There is no universal “correct” prop height because your bone structure, flexibility, and the type of pose all matter. A person with long femurs and short arms will need different lift than someone with the opposite proportions. Your practice also changes—what worked last month may feel too low now that your hip flexors have opened up.
Revisit the sitz bone test and arm reach check every few months. Experienced practitioners often shift between heights depending on the pose. For example, you might use a high block for Trikonasana (triangle) one day and a low block the next, depending on how warmed up you are. That is not inconsistency—it is intelligence.
A final note on adaptability
Studio props are not one-size-fits-all. If a class uses standard four-inch blocks and you feel crunched, bring your own taller blocks. If you are practicing at home and only have one height, use a folded blanket or a thick book as a temporary adjustment. The prop is your tool, not your limitation. Use these two tests as your compass, and let your comfort and alignment be the final judge.