
You step under the bar, take a breath, and descend. But something feels off — a pinch in the hip, a strain in the lower back, or a wobble halfway down. For many new lifters, the problem isn't strength. It's mobility. And more often than not, it's two specific mistakes that throw the squat off track before the first rep even starts.
Let's look at what these mistakes are, why they happen, and how to fix them with simple, repeatable adjustments. No gimmicks, no contortions — just smarter preparation.
1. Treating mobility like a static stretch session
The first mistake is spending five minutes holding a deep squat or pulling your heel toward your glutes, then walking straight to the bar expecting perfect depth. Static stretching before a squat can actually reduce your nervous system's readiness. You end up with loose but unresponsive tissue — not what you want when you're about to load 135 pounds on your back.
Pre-squat preparation should wake up your joints and pattern the movement, not force range of motion while your muscles are cold. Instead of holding a deep squat for 60 seconds, try this:
- Walkouts and hip circles: 30 seconds of controlled movement through your hips, knees, and ankles.
- World's greatest stretch: One of the few dynamic stretches that actually translates to the squat. It opens the thoracic spine, hip flexors, and hamstrings in one fluid motion.
- Goblet squat holds (with tempo): Hold a light kettlebell or dumbbell at your chest and squat to a comfortable depth. Pause for one second at the bottom, stand up, repeat 5–8 times. This mimics the squat pattern under minimal load, which primes your central nervous system without fatiguing you.
A short dynamic warm-up (5–8 minutes) improves squat depth and stability more than holding a static stretch for the same amount of time. Save the long stretching for after training or separate mobility work.
2. Forgetting that ankle dorsiflexion controls everything
The second mistake is subtler but equally limiting. New lifters often focus on hip mobility — and rightly so — but they overlook the ankles. If you can't get your knees far enough forward over your toes, your torso will have to compensate by leaning farther forward. That shift puts your lower back in a vulnerable position and makes it nearly impossible to hit parallel depth with a neutral spine.
Poor ankle dorsiflexion is one of the most common hidden culprits in squat struggles. The fix is not complicated, but it does require consistent attention:
- Elevated heel squat: Place a small weight plate (5–10 pounds) under each heel. This gives your ankles an extra few degrees of range without changing the movement pattern. Many people find they can squat deeper and more upright immediately.
- Knee-to-wall drill: Stand facing a wall with your toes one to two inches from the base. Keeping your heel flat on the floor, try to touch your knee to the wall. If you can do it easily, move your foot back an inch and repeat. Work through a few reps on each side before you squat.
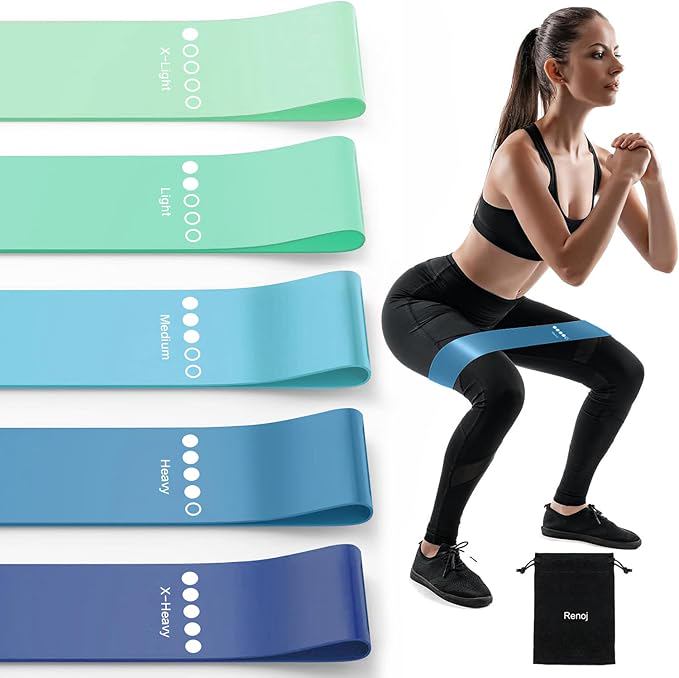
- Band distraction: Loop a light resistance band around the front of your ankle just above the joint, anchor it to a sturdy post, and squat facing the anchor point. The band pulls the talus bone forward, allowing for greater range of motion at the ankle. This is a more advanced technique — use it selectively if you feel stuck.
Test this: Do a bodyweight squat normally and note your depth. Then place your heels on small plates and squat again. If the second squat feels easier and deeper, your ankles are the limiting factor, not your hips or hamstrings.
How to combine these corrections into a pre-squat routine
You don't need a 20-minute warm-up that leaves you tired before the work sets. Here's a compact sequence that addresses both mobility mistakes:
- Step 1 (2 minutes): Hip circles and ankle circles (10 each direction per leg).
- Step 2 (2 minutes): World's greatest stretch — two reps per side, holding each stretch for a full breath.
- Step 3 (2 minutes): Knee-to-wall drill — three to five reps per side at a comfortable distance.
- Step 4 (2 minutes): Goblet squat with a one-second pause at the bottom (5–8 reps).
That's roughly eight minutes. After that, you're ready to add the empty barbell and work toward your working sets. If you're pressed for time, cut the first drill and keep the rest.
Common questions about squat mobility
Can I squat if my ankles are naturally tight?
Yes, but you need to work within your available range. Using a modest heel lift (weight plates, proper squat shoes, or a wedge) is a legitimate tool — not a cheat. Over time, consistent ankle mobility work can expand your range, but you don't have to wait for perfect ankles to squat safely.
What if I feel pain in my hips when I squat?
Deep squatting can irritate the hip joint if you have underlying issues like femoroacetabular impingement (FAI) or labral damage. A sharp or pinching sensation is different from muscular tightness. If you experience sharp hip pain during squats, consult a physical therapist or sports medicine professional. In the meantime, try a slightly wider stance or pointing your toes out more to see if that changes the sensation.
Do I need special equipment to fix these mistakes?
No. You can improve squat mobility with just your bodyweight, a wall, and a small plate for heel elevation. A resistance band and a light kettlebell are helpful additions but not required. Start with the bodyweight drills and progress as needed.
How long does it take to see improvement in squat mobility?
Most lifters notice a difference in squat depth and comfort within two to three weeks of consistent ankle and hip mobility work (three to four sessions per week). Structural or long-standing restrictions may take longer, but progress is usually steady if you're doing the right drills.
Mobility isn't about being naturally flexible. It's about giving your body the right input before you ask for the output. Fix these two mistakes — the static stretch trap and the ankle blind spot — and your squat will feel more controlled, more comfortable, and stronger rep after rep.