You spent Sunday afternoon carefully weighing ingredients, roasting veggies, and portioning out your low-carb lunches for the week. By Tuesday, the chicken is dry, the vegetables are weeping into the dressing, and everything has the texture of a damp sponge. It’s a frustrating cycle, but the fix isn’t complicated. Soggy meal-prep lunch usually comes down to three common mistakes: moisture mismanagement, reheating errors, and dressing timing. Here is how to fix each one so your midday meal actually tastes good on day four.
Where does the sogginess come from?
Most low-carb meals skip the bread and pasta that normally soak up excess moisture. Without those starches, water from cooked vegetables, proteins, and sauces has nowhere to go. It pools at the bottom of the container, turns crisp greens into wilted leaves, and makes everything taste stale. The core problem is that water and steam are your enemies when you prep ahead, but you can outsmart them with a few small changes.
Fix #1: Layer your ingredients strategically
The order in which you stack food in your container matters more than you think. Moisture always travels downward, so the wettest items should go on the bottom, and the most delicate, dry items should sit on top.
Start with your protein. Chicken breast, grilled tofu, or hard-boiled eggs are relatively dense and can handle a little contact from above. Next add sturdy, cooked vegetables like roasted broccoli, bell peppers, or zucchini — not raw greens, which will wilt if they touch warmth. Use a small silicone muffin cup or folded parchment paper to create a barrier between wet sauces and dry components. On top of everything, place your leafy greens, avocado slices, or fresh herbs. They stay crisp because they never touch the damp base.
A simple trick: if you are packing salad greens, store them in a separate small container or bag and add them just before eating. This alone prevents the mushy-leaf problem 90 percent of the time.
Fix #2: Keep dressing and wet ingredients separate
This is the single biggest offender. Pouring vinaigrette, yogurt sauce, or even just diced tomatoes directly over your lunch before sealing the lid guarantees sogginess by lunchtime. Acidic dressings also break down proteins, turning firm chicken into something that feels mealy.
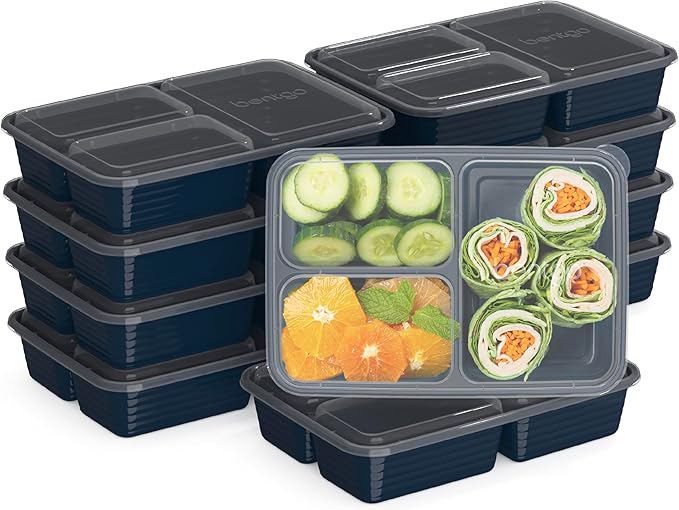
Instead, invest in a few small, leakproof containers or reusable silicone sauce cups. Fill them with dressing, salsa, or any wet condiment and nestle them into your lunch box. Use the same approach for quick-pickled onions, cucumber slices, or any fruit that releases juice as it sits. When you are ready to eat, you simply pour, toss, and enjoy — with the texture and crunch still intact.
The same rule applies to nut butters, hummus, or guacamole. If you cannot keep them completely separate, spread them inside a lettuce wrap or on the surface of your protein, but never mix them into the rest of the meal until serving time.
Fix #3: Reheat correctly (or skip it entirely)
Microwaving a prepped container on high for two minutes is the fastest route to mush. The intense steam turns crisp-tender vegetables into limp pieces and makes chicken rubbery on the outside while cold on the inside. You have better options.
- For work kitchens: Remove the lid and cover the container with a damp paper towel. Microwave at 50 percent power in 30-second bursts, stirring between intervals. Stop as soon as the food is warm — do not overheat.
- For stovetop reheat: A skillet works well for stir-fry-style meals. Add a teaspoon of water or oil, then warm over medium heat, tossing frequently. This revives texture better than any microwave.
- For salads: Do not heat at all. Eat them cold. If you crave a warm protein, reheat the chicken or fish separately in a skillet, then add it to the cold greens and vegetables.
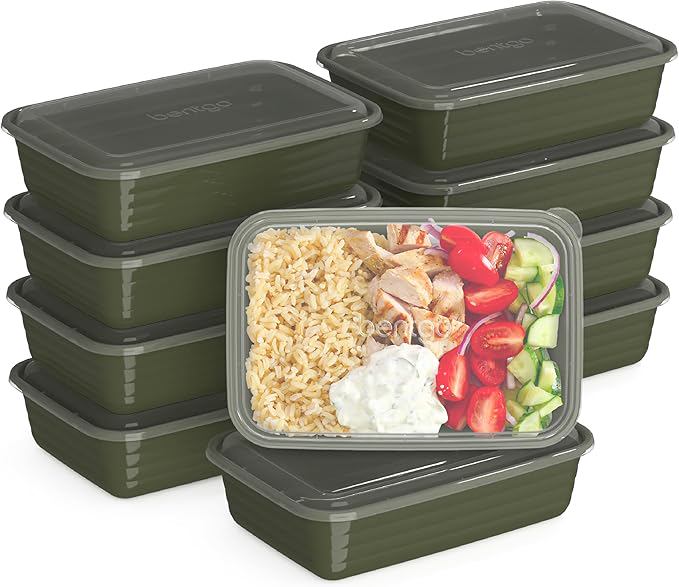
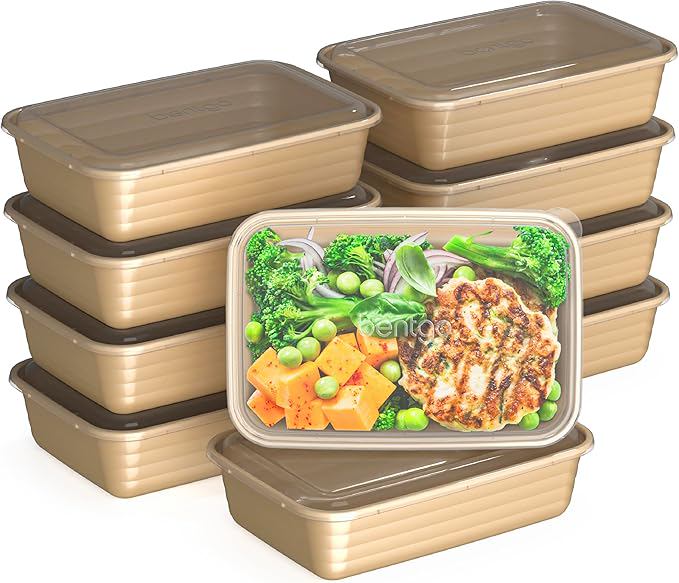
Another pro move: pack your lunch in a wide, shallow container rather than a deep bowl. Shallow dishes heat more evenly and cool faster after cooking, which reduces the time your food spends in the danger zone where moisture and bacteria thrive.
Quick recap: your 3 fixes
If you remember nothing else, focus on these three principles:
- Layer dry on top of wet. Bottom: protein and cooked vegetables. Middle: barrier (paper cup or parchment). Top: fresh greens and herbs.
- Keep dressing separate. Use small sauce containers. Add oil, vinegar, or yogurt sauce only at mealtime.
- Reheat gently. Low power, short bursts, or choose a skillet. Cold lunches for salads are fine — do not microwave them.
Once you adjust your packing habits, you will notice that Wednesday’s chicken and broccoli taste almost as good as Sunday’s. No more sad, soggy lunches. No more abandoning meal prep halfway through the week. Just a reliable system that keeps your low-carb eating plan on track without the disappointment.