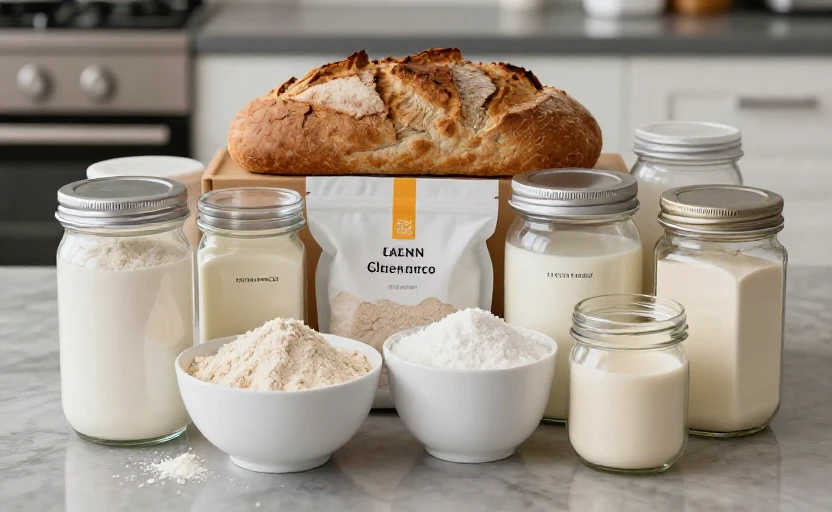
Gluten-free baking can feel like a high-stakes science experiment. You follow a recipe to the letter, only to pull a loaf from the oven that’s crumbly, dense, or gummy. The missing piece isn’t just a single ingredient; it’s understanding the unique role each flour and binder plays in creating the structure and texture we love. With a few thoughtful swaps, you can transform your results from disappointing to delightful.
Think of gluten as the architectural scaffold of traditional baking. It provides elasticity and strength, trapping air bubbles to give bread its rise and cookies their chew. When you remove it, you need a team of ingredients to step in and mimic those functions. The goal isn’t to find a one-to-one replacement for wheat flour, but to build a balanced blend that delivers moisture, binding, and a pleasing crumb.
Building Your Gluten-Free Flour Foundation
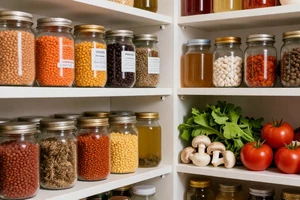
A successful gluten-free bake almost always starts with a blend. Relying on a single flour, like almond or rice flour alone, often leads to imbalanced textures. The most reliable blends combine a base flour, a starch, and sometimes a protein or nut flour for structure and flavor.
Base Flours are the workhorses. Brown rice flour offers a neutral flavor and light texture, while sorghum flour adds a mild, sweet note and soft crumb perfect for muffins and cakes. Oat flour (ensure it’s certified gluten-free) brings a hearty, moist quality that works wonderfully in quick breads.
Starches like tapioca starch (also called tapioca flour) or potato starch are the secret to lightness. They help tenderize the blend, improve moisture retention, and can create a pleasantly chewy texture in things like pizza crusts. Arrowroot powder is another excellent option, known for producing a clear, glossy finish in sauces and a crisp edge on cookies.
A good starting blend is 60% base flour (e.g., brown rice or sorghum) to 40% starch (e.g., tapioca or potato). This ratio provides structure without heaviness.
Mastering the Binders: The Glue That Holds It All Together
This is where the magic happens for texture. Without gluten, you need a binder to prevent your baked goods from falling apart. The right choice depends on what you’re making.
Xanthan gum and guar gum are the most common. A little goes an incredibly long way—often just 1/4 to 1/2 teaspoon per cup of gluten-free flour. Xanthan gum provides elasticity and helps trap gas for a better rise, making it ideal for yeast breads. Guar gum excels at binding and retaining moisture, which can be better for cakes and pastries. Some bakers use a blend of both.
For a whole-food alternative, consider psyllium husk powder, especially for bread. When mixed with water, it forms a gel that mimics gluten’s stretchy, elastic properties, yielding a loaf with a better crumb and less crumbliness. Chia seeds or flax seeds, ground and mixed with water to form a gel, also work well as binders in denser items like brownies or pancakes.
Texture-Specific Swaps for Common Baking Challenges
Different baked goods demand different textures. Here’s how to tailor your approach.
For a lighter, airier cake or muffin: Ensure your blend includes a good portion of starch. Sift your flour blend and other dry ingredients twice to incorporate air. Let your batter rest for 30 minutes before baking; this allows the flours to fully hydrate, leading to a more even and tender texture.
For a chewy cookie or pizza crust: Tapioca starch is your friend here. Adding a tablespoon or two of honey or maple syrup (in addition to other sugars) can also improve chewiness due to its hygroscopic (water-attracting) nature. A bit of xanthan gum will help provide the desired pull.
For moist, non-crumbly quick bread: Incorporate naturally moist ingredients like mashed banana, applesauce, pumpkin puree, or yogurt. Oat flour or almond flour in your blend also contributes to a denser, moister crumb that holds together well when sliced.
Practical Tips for Success
Gluten-free baking has its own rhythm. Don’t be discouraged if a first attempt isn’t perfect—adjustment is part of the process.
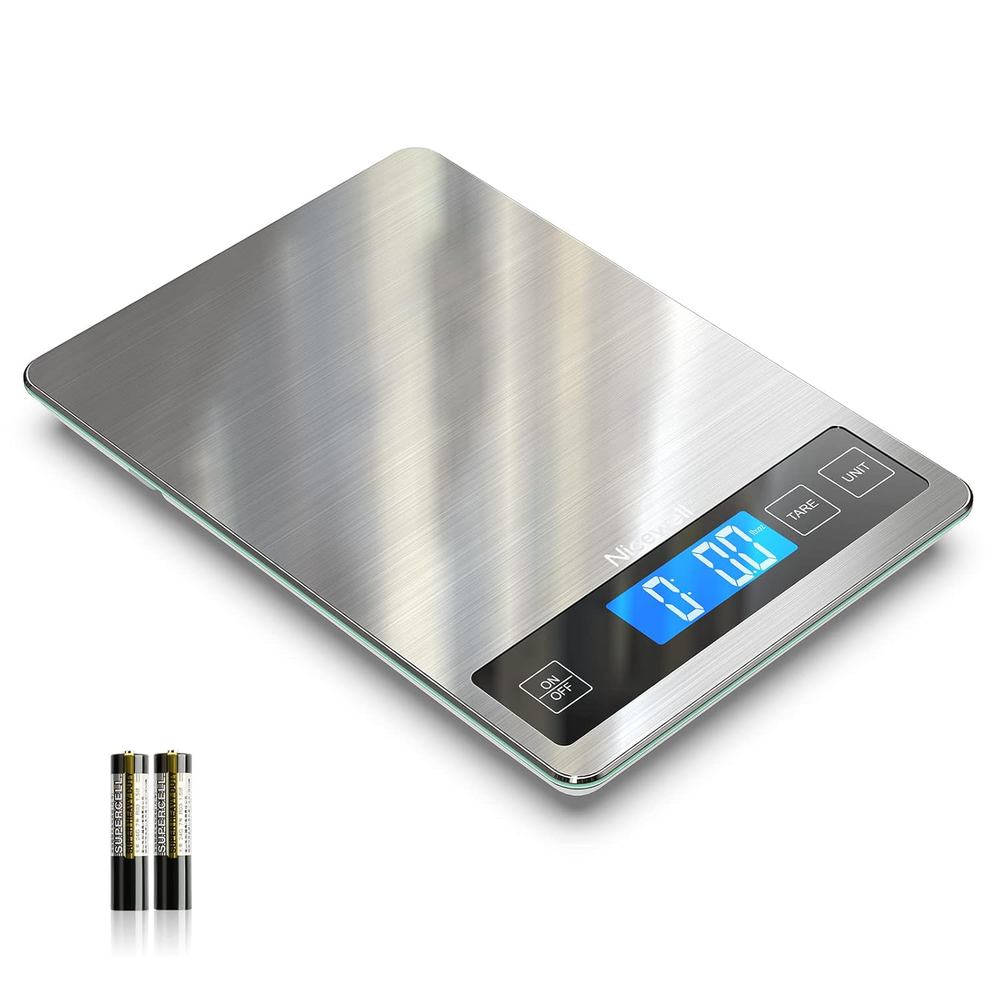
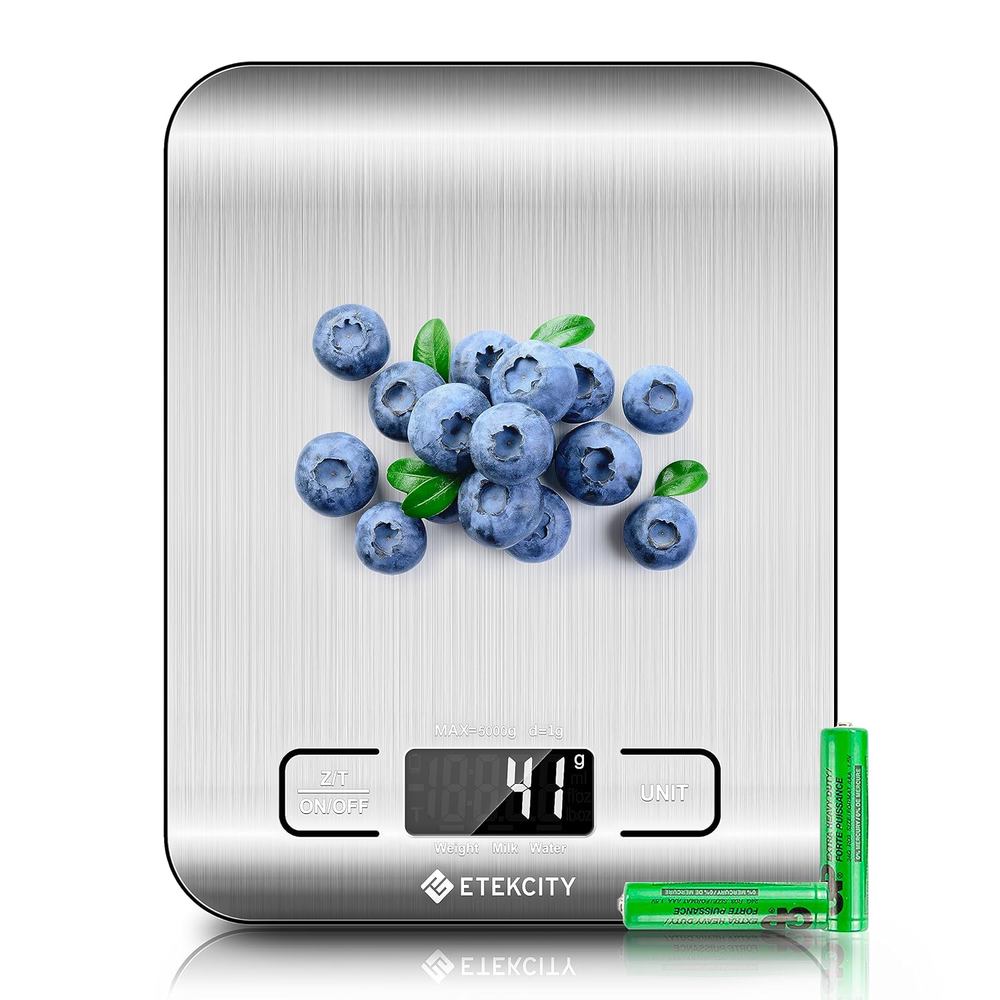
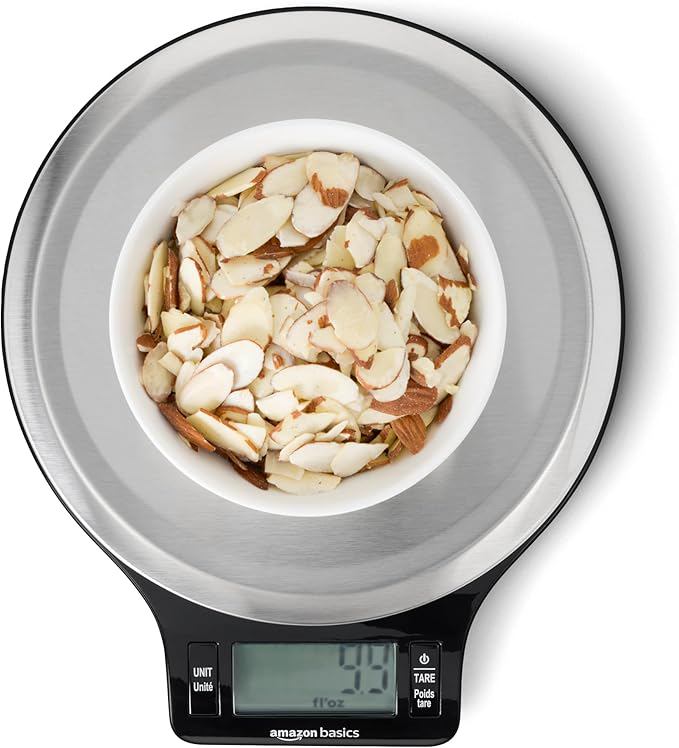
- Measure by weight, not volume. Gluten-free flours vary dramatically in density. Using a kitchen scale is the single most reliable way to ensure consistency.
- Don’t overmix. Once you add the wet ingredients, mix just until combined. Overmixing can lead to toughness, especially in blends containing starches.
- Check for doneness a bit early. Gluten-free goods often bake faster. They are typically done when the edges are golden and the center springs back lightly to the touch, or a toothpick comes out with a few moist crumbs.
- Let it cool completely. This is non-negotiable. Gluten-free baked goods need time to fully set their structure as they cool. Cutting into a loaf or bar while warm almost guarantees crumbliness.
Embrace experimentation. Note what works in your kitchen with your preferred flavors. A swap that makes your sandwich bread perfect might differ slightly from what makes your chocolate chip cookies chewy. With these foundational swaps and techniques, you’re well-equipped to bake with confidence, creating treats that are truly satisfying in every bite.