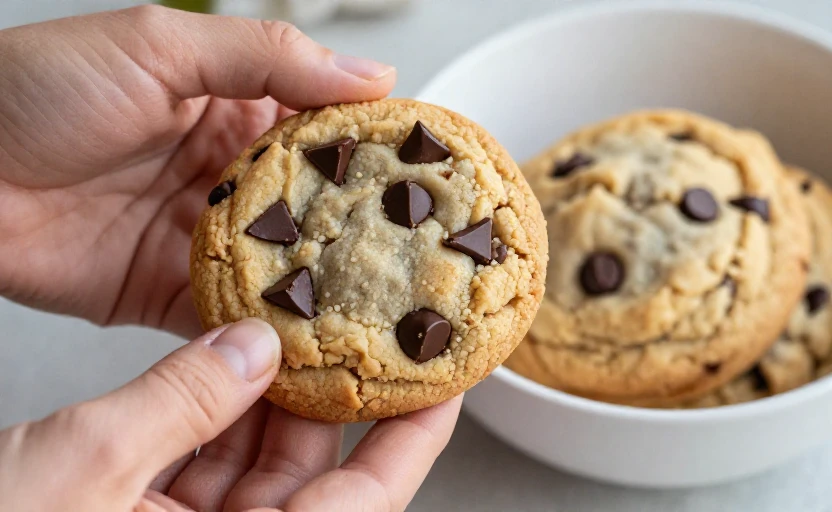
You’ve followed the recipe to the letter, waited patiently as the aroma filled your kitchen, and pulled a tray of golden cookies from the oven. But instead of a satisfyingly chewy or crisp bite, you’re left with a pile of sandy, fragile crumbs. If your gluten-free cookies are more prone to disintegration than delight, you’re not alone. This is one of the most common hurdles in gluten-free baking, but it’s also one of the easiest to overcome.
The culprit isn’t your skill—it’s the missing glue. In traditional baking, gluten proteins form a network that binds ingredients together, providing structure and chew. Without it, bakers must create that structure through other means. The good news is that with a few thoughtful adjustments to your ingredients and technique, you can transform those crumbly cookies into treats that hold their shape beautifully.
Why Do Gluten-Free Cookies Fall Apart?
Before we fix the problem, it helps to understand what’s happening in your mixing bowl. Crumbly gluten-free cookies typically suffer from one of two core issues: a lack of binding or an imbalance of moisture.
Gluten-free flours like rice, almond, or oat flour don’t contain the elastic gluten proteins found in wheat. They act more like individual particles of starch. Without a binder to hold these particles together, the structure collapses into a dry, sandy texture once baked. Similarly, many gluten-free flours are “thirstier” than wheat flour, absorbing liquid from your dough and leaving it parched. If your recipe doesn’t account for this, the result is a cookie that’s brittle and dry.
The goal isn’t to replicate wheat flour exactly, but to build a new, stable structure that works for your ingredients.
Two Reliable Fixes for Better Texture
You don’t need a chemistry degree to solve this. Focus on these two fundamental areas, and you’ll see a dramatic improvement in your next batch.
1. Strengthen the Bind
This is your first and most powerful line of defense against crumbliness. Introducing a dedicated binder gives the flour particles something to hold onto, creating the cohesive structure that gluten normally provides.
Xanthan gum or guar gum are the most common solutions. A little goes an incredibly long way—typically just ¼ to ½ teaspoon per cup of gluten-free flour blend. Whisk it thoroughly into your dry ingredients before adding any liquids. It works by trapping water and creating a gel-like network, mimicking gluten’s elasticity.
For a whole-food alternative, consider ground psyllium husk. It acts similarly, absorbing moisture and forming a flexible gel. It can also add a slight chewiness that’s wonderful in cookies. Start with about one tablespoon per cup of flour.
Don’t overlook the binding power already in your pantry. An extra egg yolk adds fat and emulsifiers that help blend water and oil together, stabilizing the dough. A tablespoon of nut or seed butter can also work wonders in certain recipes, its natural oils and proteins helping to lock everything in place.
2. Balance the Moisture
Binding agents need moisture to activate. If your dough is too dry, even xanthan gum can’t perform its magic. The key is to add moisture in forms that won’t throw off the rest of your recipe.
Often, simply adding an extra tablespoon or two of fat (like butter or a neutral oil) or a tablespoon of a liquid sweetener (such as honey, maple syrup, or agave) can provide the needed hydration. These ingredients contribute moisture while also tenderizing the crumb.
Pay close attention to your dough’s consistency before baking. It should hold together easily when pinched. If it seems dusty or cracks when you try to form a ball, it needs more moisture. Add liquid one teaspoon at a time until the texture improves.
Remember, gluten-free baking is often about personal adjustment. Flours vary widely in their absorbency. A dough made with fine almond flour will behave differently than one made with coarse oat flour. Treat a recipe as a starting point, and don’t be afraid to make small tweaks based on what you see and feel.
Preventative Tips for Your Next Batch
Beyond the two main fixes, a few simple practices can set you up for success from the start.
- Let the dough rest: After mixing, cover your dough and let it rest in the refrigerator for at least 30 minutes. This allows the flours to fully hydrate and the binders to start working, resulting in a more cohesive dough and better texture.
- Measure by weight: If possible, use a kitchen scale. Gluten-free flours can be packed down easily, leading to accidental over-measuring and a dry, dense cookie. Weight is always more accurate than volume.
- Don’t over-bake: Gluten-free cookies often continue to set as they cool on the tray. Pull them from the oven when the edges are just set and the centers look slightly soft. They will firm up perfectly as they cool.
With these adjustments, your gluten-free cookies can be everything you hope for—chewy, crisp, or tender, but most importantly, perfectly whole from the first bite to the last.