Gluten-free baking from scratch can feel like a separate language. You swap out wheat flour for a blend of rice, tapioca, or almond flour, and suddenly the dough behaves differently—it crumbles, spreads, or turns out dense. The good news is that once you understand a few key adjustments, you can bake cookies, breads, and cakes that rival their gluten-containing counterparts. Here are six time-saving tips to help you bake with confidence and less trial-and-error.
1. Mix your own all-purpose flour blend in bulk
Commercial gluten-free flour blends save time, but they often contain starches that make baked goods gummy or dry. Instead, create a custom blend using a simple ratio: 40 percent whole-grain flour (like brown rice or sorghum), 40 percent starch (tapioca or potato starch), and 20 percent a nutty flour (like almond or oat). Prepare a large batch and store it in an airtight container. This way, you grab one container instead of measuring three flours every time.
2. Weigh your ingredients — don't rely on measuring cups
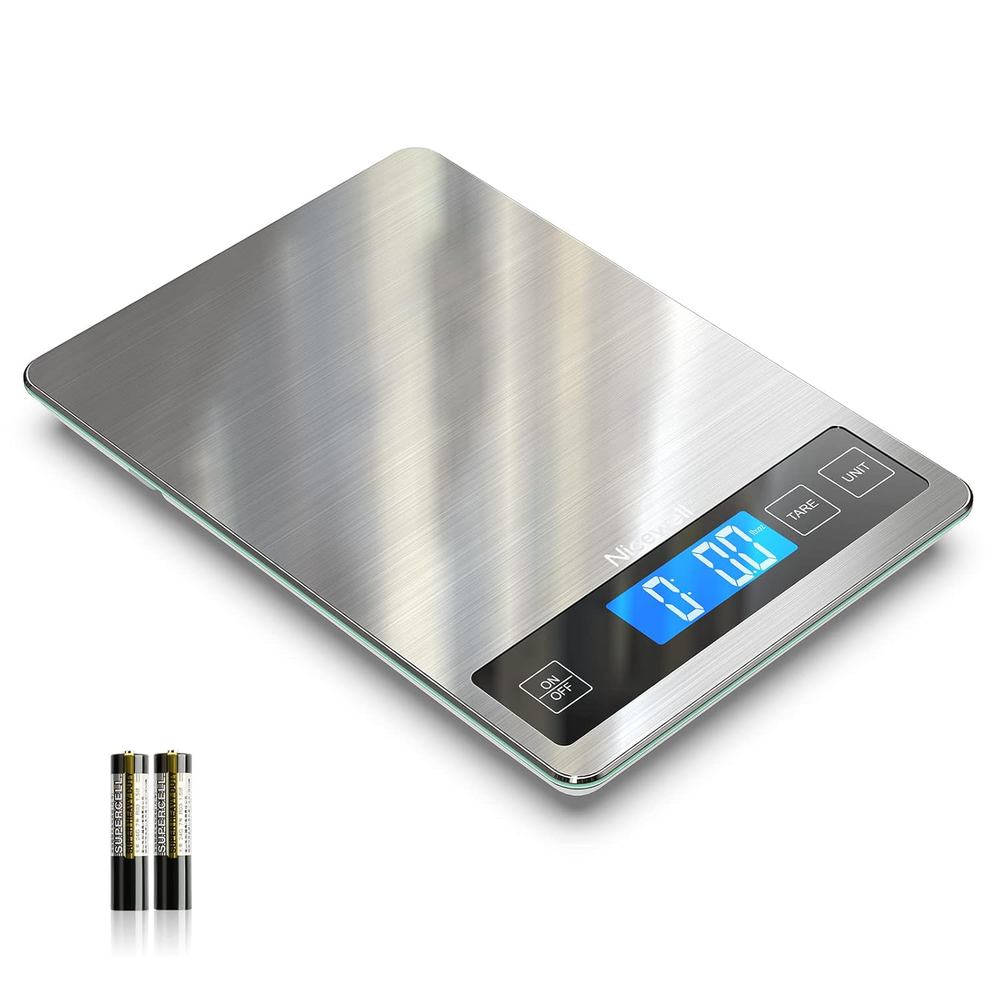
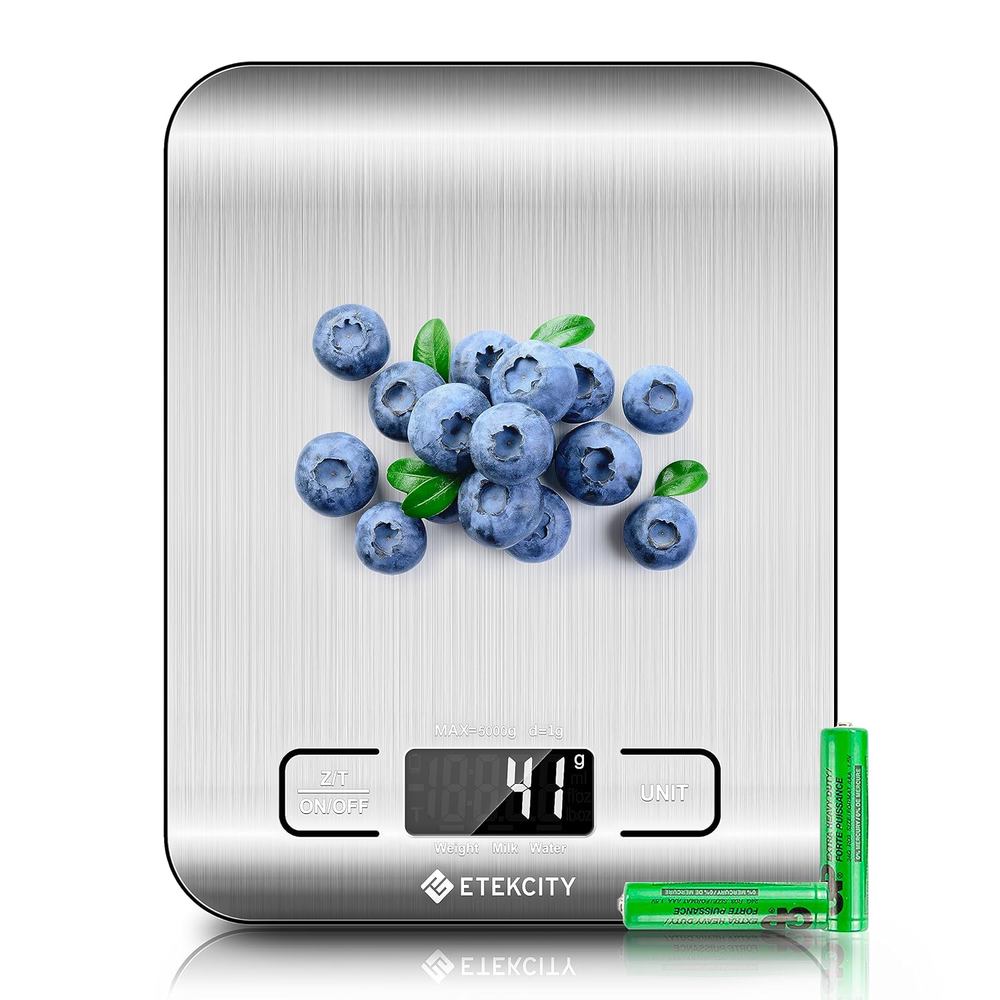
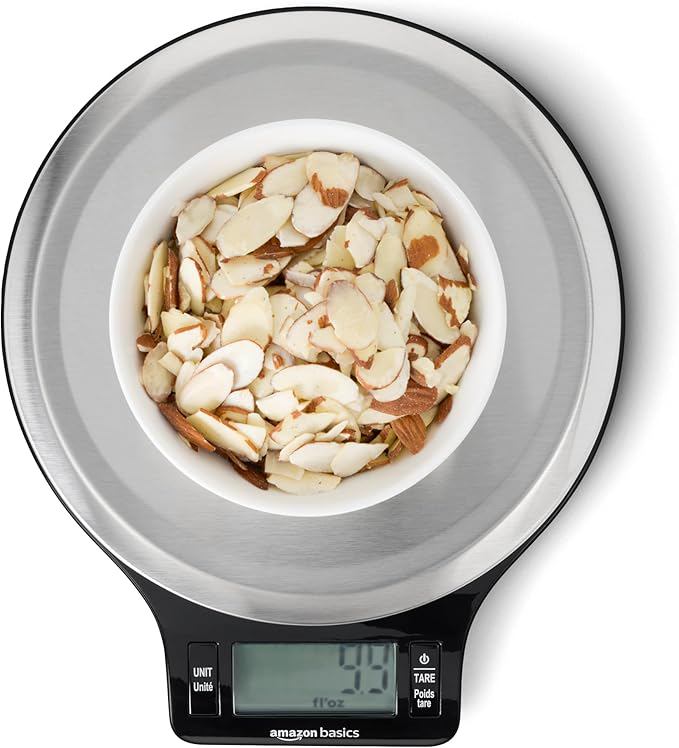
Gluten-free flours vary widely in density. A cup of almond flour weighs differently than a cup of oat flour. Using a digital kitchen scale eliminates guesswork and ensures consistent results. Write down the gram equivalents for your favorite recipes so you can repeat successes. This small habit saves you from over-flouring or under-hydrating your dough, which is the most common source of frustration.
3. Add a binder to replace gluten's structure
Gluten gives dough elasticity. Without it, your baked goods can fall apart. The simplest fix is to add a binder like xanthan gum or psyllium husk powder. For every cup of gluten-free flour, use about half a teaspoon of xanthan gum (or one teaspoon of psyllium husk). Whisk it into the dry ingredients first so it distributes evenly. This one step prevents crumbly cookies and gummy bread.
4. Use room-temperature ingredients for better hydration
Cold eggs or cold butter can make gluten-free batters lumpy and uneven. Because gluten-free flours absorb liquid more slowly, you want everything at room temperature. Let eggs, butter, and milk sit out for 20 minutes before mixing. This small prep step cuts down on mixing time and helps the batter come together smoothly.
5. Let the batter rest before baking
Gluten-free batters benefit from a 15- to 30-minute rest at room temperature. This allows the starches and fibers to fully absorb the liquid, which helps the final texture become more tender and less gritty. Pour your batter into the pan, cover it with a clean towel, and walk away for a few minutes. Set a timer so you don't forget.
6. Bake small batches and freeze extras
Instead of one large loaf that takes longer to bake and may dry out, divide your batter into muffin tins, mini loaf pans, or cookie-sized portions. Smaller items bake faster and more evenly. Cool them completely, then freeze in airtight bags. You'll have fresh-tasting treats ready to thaw for up to three months. This approach saves you from reheating the oven every time a craving hits.
Gluten-free baking from scratch doesn't have to be time-consuming. By measuring by weight, prepping a custom flour blend, and using the right binder, you set yourself up for consistent results. The next time you bake, try these six strategies — you'll likely cut down on wasted ingredients and improve the taste and texture of everything you make.