
When you start a new fitness routine, a little creak or pop in the knees, hips, or shoulders can feel alarming. You might wonder if strength training is actually doing more harm than good. The short answer is no—when done correctly, resistance training is one of the best things you can do for joint health. But the key word here is correctly.
Beginners often make one of two mistakes: they either go too heavy too fast, or they avoid loading the joints altogether out of fear. Both approaches can leave you feeling unstable and frustrated. To help you build resilient, comfortable joints from day one, let's break down three concrete, safety-first strategies backed by sports medicine and physical therapy research.
1. Start with Isometric Holds Before Moving Through Full Range of Motion
Before you start swinging dumbbells or loading up a barbell, there is a smarter place to begin: isometric exercises. These are moves where you contract a muscle group and hold a position without actually moving the joint through its full arc. Think planks, wall sits, or a static glute bridge.
Why does this matter for joint safety? Isometrics allow your tendons, ligaments, and the joint capsule itself to adapt to load under a controlled, predictable tension. You build stability without the shearing forces that can irritate an unprepared joint. A 2022 review in the Journal of Orthopaedic & Sports Physical Therapy noted that isometric training can reduce pain and improve function in people with knee osteoarthritis—not because you avoid movement forever, but because it prepares the tissues for more complex work.
Start here: Pick two isometric exercises for your target joints. For knees, hold a wall sit for 20–30 seconds. For shoulders, try a prone Y-hold lying on your stomach. Do this for two weeks before adding traditional range-of-motion lifts.
Once you can hold a steady position without pain or shaking, you are ready for controlled, slow movements like bodyweight squats or banded rows. The isometric phase builds the foundation; the dynamic phase builds on it.
2. Control the Eccentric Phase—Don't Just Drop the Weight
If you watch most beginners in the gym, you will notice a common pattern: they lift the weight up quickly, then let it crash back down. That rapid lowering phase, known as the eccentric contraction, is where most joint stress occurs. It is also the phase where you can build the most strength and connective tissue resilience, but only if you control it.
When you lower a weight slowly (taking 3 to 4 seconds), you force the muscles and tendons to lengthen under tension. This stimulates collagen production in the tendons, which directly thickens and strengthens the joint structures. A 2021 study in Frontiers in Physiology found that eccentric-focused training improved tendon stiffness and reduced injury risk in novice lifters.
A simple way to practice this
Take any basic movement—a squat, a push-up, a bicep curl—and focus entirely on the lowering part. For example, in a squat: descend for a count of 4 seconds, then stand up in 1 second. That reversed timing shifts the load away from bouncing and shearing and into controlled, productive tension. Over the course of a few weeks, your joints feel less crunchy and more stable.
Do not worry about lifting heavy here. In fact, lighter loads with a slow eccentric are more effective for joint fortification. If you feel any sharp pinching during the eccentric phase, reduce the range of motion or lighten the load further.
3. Prioritize Multi-Planar Stability Over Sagittal-Plane Heaviness
Most off-the-shelf gym programs hammer the sagittal plane—think squats, deadlifts, bench press, and bicep curls. These are fine movements, but they only train your joints in a forward-backward direction. Real-life movement, and real joint resilience, requires stability in all three planes: sagittal, frontal, and transverse (rotation).
When beginners skip lateral and rotational exercises, their joints develop asymmetrical stability. The ligaments and muscles on the sides of the knee or the rotator cuff, for instance, remain under-conditioned. That imbalance is a prime setup for a sudden twist injury.
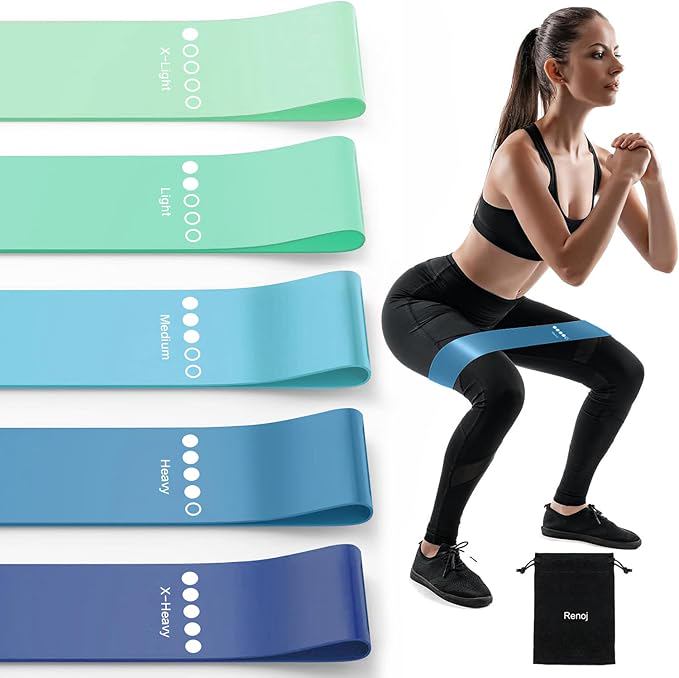
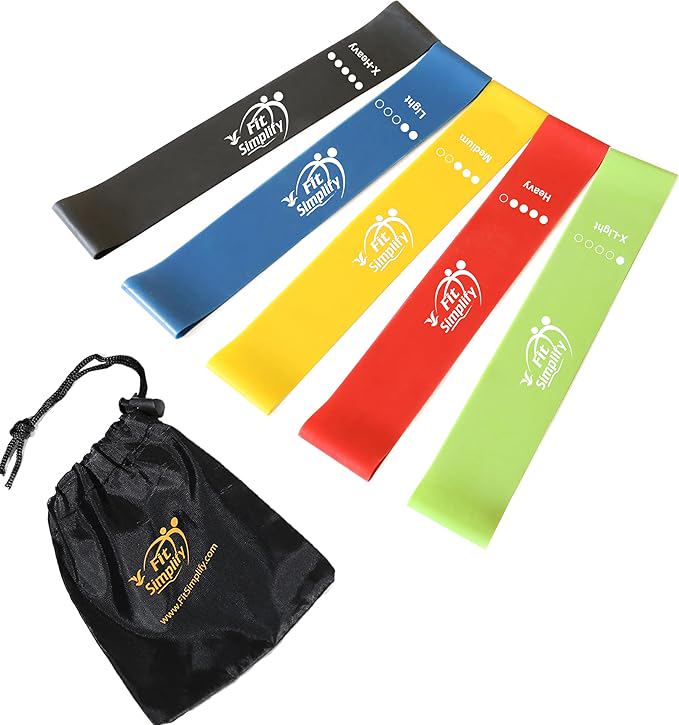
Add these two moves to any routine: side-lying hip raises (frontal plane) and a standing pallof press or band rotation (transverse plane). Three sets of 10 reps, twice a week, with light resistance.
By training your joints from multiple angles, you signal to the body that it needs to stabilize the joint capsule uniformly. This is especially important for the shoulders (a highly mobile joint prone to dislocation) and the knees (which rely on balanced quad-to-hamstring strength). Over time, multi-planar work creates a kind of armor around the joint, reducing the chance of a pop or strain when you move unpredictably—like stepping off a curb or catching yourself during a stumble.
Putting the Three Tips Together
You do not need to apply all three at once on day one. Here is a logical progression for a true beginner:
- Weeks 1–2: Isometric holds (wall sits, planks, static glute bridges). Slow eccentric if you feel ready, but prioritize holding positions.
- Weeks 3–4: Add slow eccentrics to bodyweight movements (squats, push-ups on knees, hip hinges). Focus on a 3- to 4-second lowering phase.
- Week 5 onward: Introduce one multi-planar stability move per session, such as a banded lateral walk or a single-leg Romanian deadlift (without weight at first).
Listen to your body. A mild muscle burn is fine; sharp joint pain is not. If something feels off, scale back the range of motion, the load, or the speed. The goal here is not to max out your squat in six weeks. It is to build joints that move quietly and comfortably for the next twenty years.