If you check your blood sugar at home, you know the numbers guide your daily decisions—what to eat, when to move, and whether your treatment plan is on track. Yet even a small error in the reading can send you down the wrong path. The good news is that most inaccuracies come from simple, avoidable mistakes.
Here are six expert-backed adjustments you can make right now to get a truer picture of your glucose levels, with no extra equipment required.
1. Wash and dry your hands thoroughly—no shortcuts
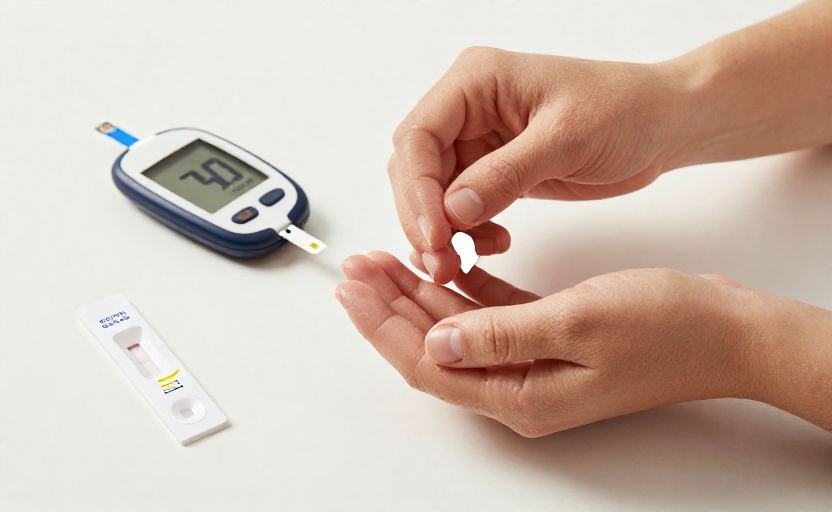
You have probably heard this before, but it bears repeating: food residue, lotions, and even sweat on your fingers can skew a fingerstick reading by a surprising margin. A 2011 study in Diabetes Care found that unwashed hands could produce readings that were 10% higher or more compared to clean hands—enough to blur the line between mild and concerning levels.
The fix is simple. Soap and warm water, followed by drying with a clean towel, is the gold standard. Alcohol wipes work in a pinch, but make sure the finger is completely dry before pricking (wet alcohol can dilute the sample). Avoid hand sanitizer with added moisturizers, as residue can interfere with the test strip chemistry.
2. Use the side of your fingertip, not the pad
It is a small shift in technique, but the side of the fingertip tends to have more blood flow and fewer nerve endings. Pricking the center pad can be more painful and produce a smaller, less reliable drop of blood. Aim for the fleshy part just off-center, and switch fingers for each test to avoid soreness and calluses, which can also affect accuracy.
3. Get your blood drop size right
Too small a drop of blood can cause an error message or a falsely low reading. Many meters require a specific volume—check your manual. If you are struggling to get enough blood, lower your hand below heart level for a few seconds before the prick, or gently massage your finger from the base toward the tip (do not squeeze hard around the puncture site, as that can release tissue fluid and dilute the sample).
Caveat: If you consistently have trouble getting a sufficient drop, check your lancet depth setting. Most devices allow you to adjust it—just go deep enough to get the drop without unnecessary pain.
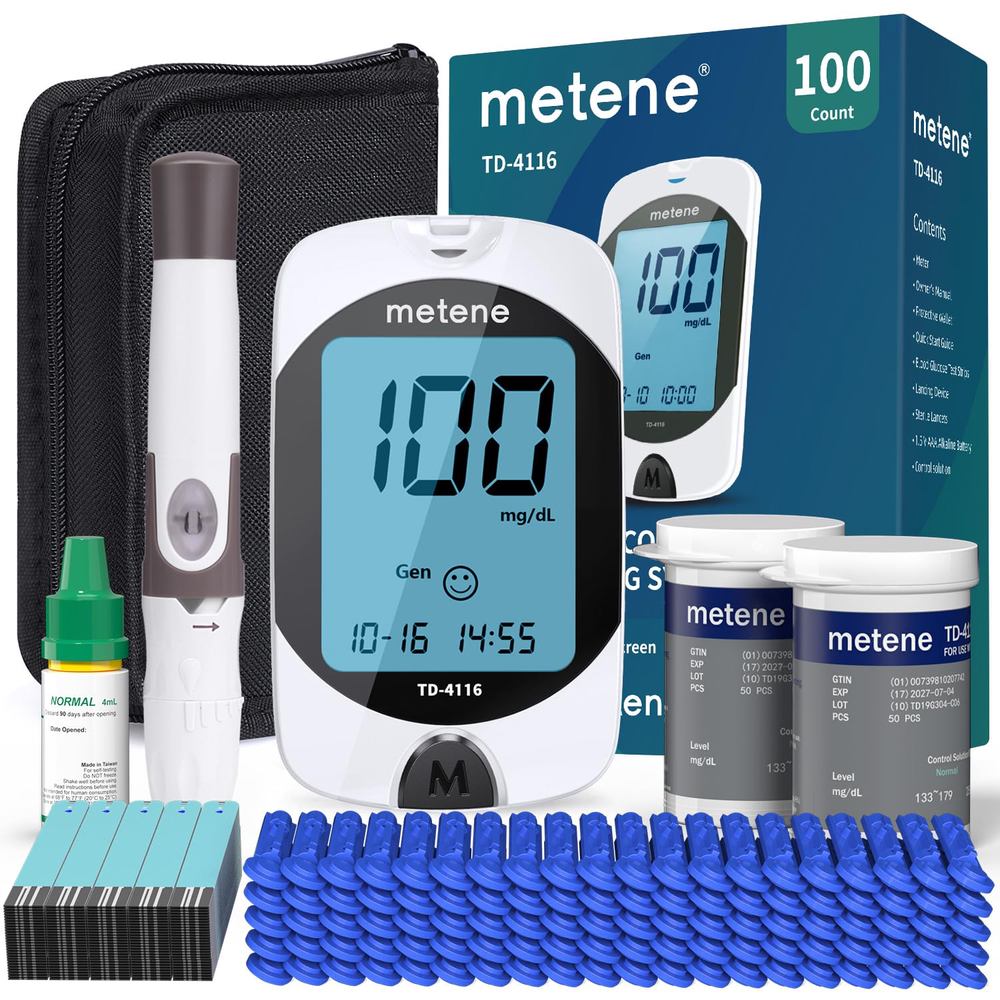
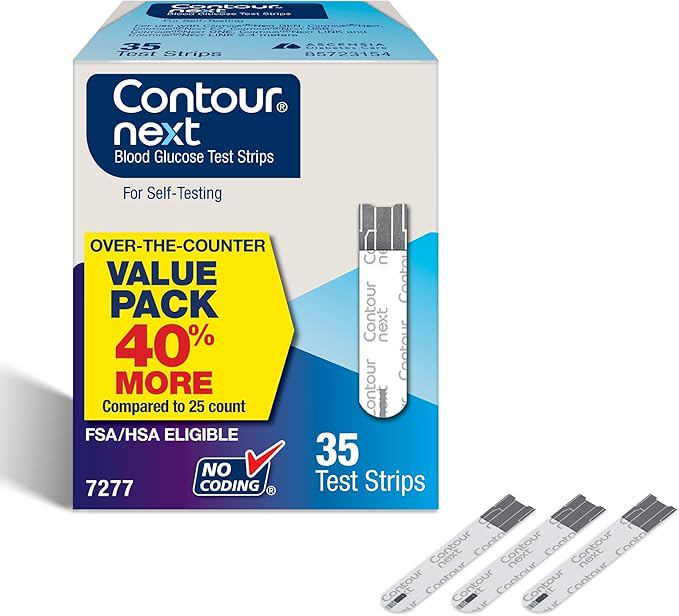
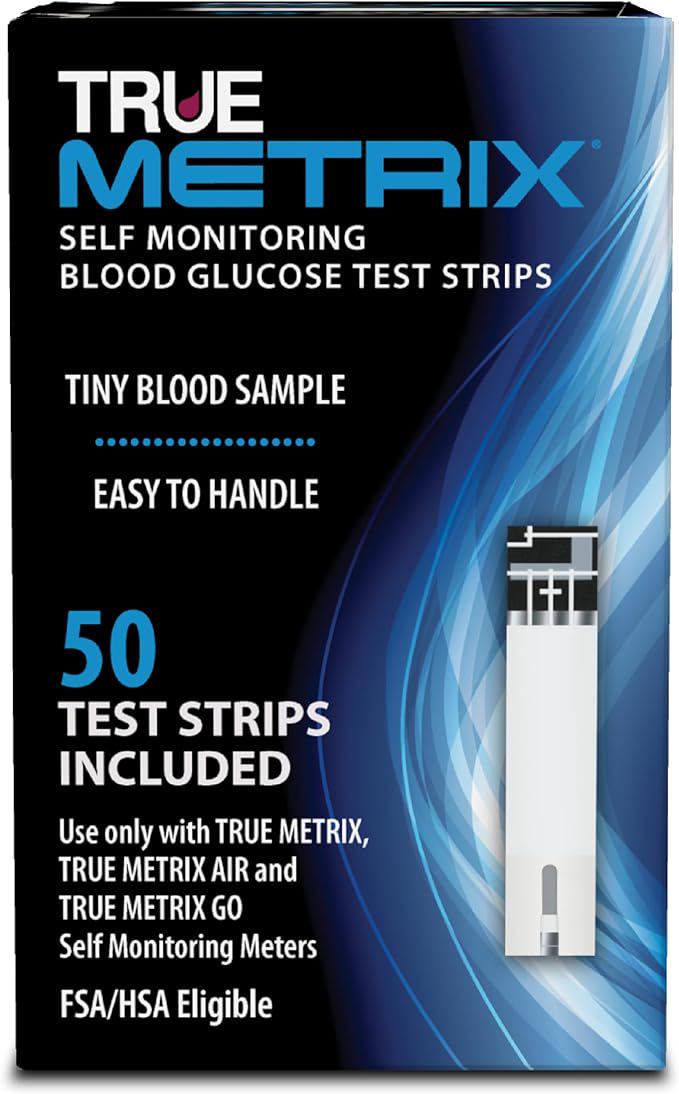
4. Store test strips like a pro
Test strips are sensitive to humidity, temperature, and air. Leaving them in a hot car, a steamy bathroom, or an unsealed vial is a fast track to unreliable readings. Keep them in their original container with the lid tightly closed, and store them in a cool, dry place.
Another easy miss: check the expiration date on the vial. An expired strip may still give you a number, but the chemistry has degraded, so the number cannot be trusted. Mark the date you open a new vial on the label—most are only good for three months after opening, regardless of the printed expiration date.
5. Code your meter—if yours still uses strips with codes
Many modern meters are “no-code” and calibrate automatically, but if your device requires you to enter a code from the test strip vial every time you open a new one, skipping this step is a common source of error. The code adjusts the meter to the batch-specific chemistry of those strips. Using the wrong code can throw off readings by 10–20 mg/dL or more. Do it right when you open the new vial, and double-check that the display confirms the match.
6. Timing matters: test at consistent moments
Your glucose levels fluctuate constantly—from what you eat, your activity, your stress, even the time of day. For meaningful comparisons, test at the same intervals relative to meals and medication. For example, a reading taken two hours after eating is not directly comparable to a reading taken four hours after. Your healthcare provider needs consistent, predictable data to adjust your plan accurately. Keep a simple log with time, date, and notes about meals or activity for the most useful picture.
One more note: if your meter consistently disagrees with lab results by more than 15%, bring it to your next appointment and ask your clinician to check your technique. Home monitoring is a powerful tool—but only when the numbers are real.